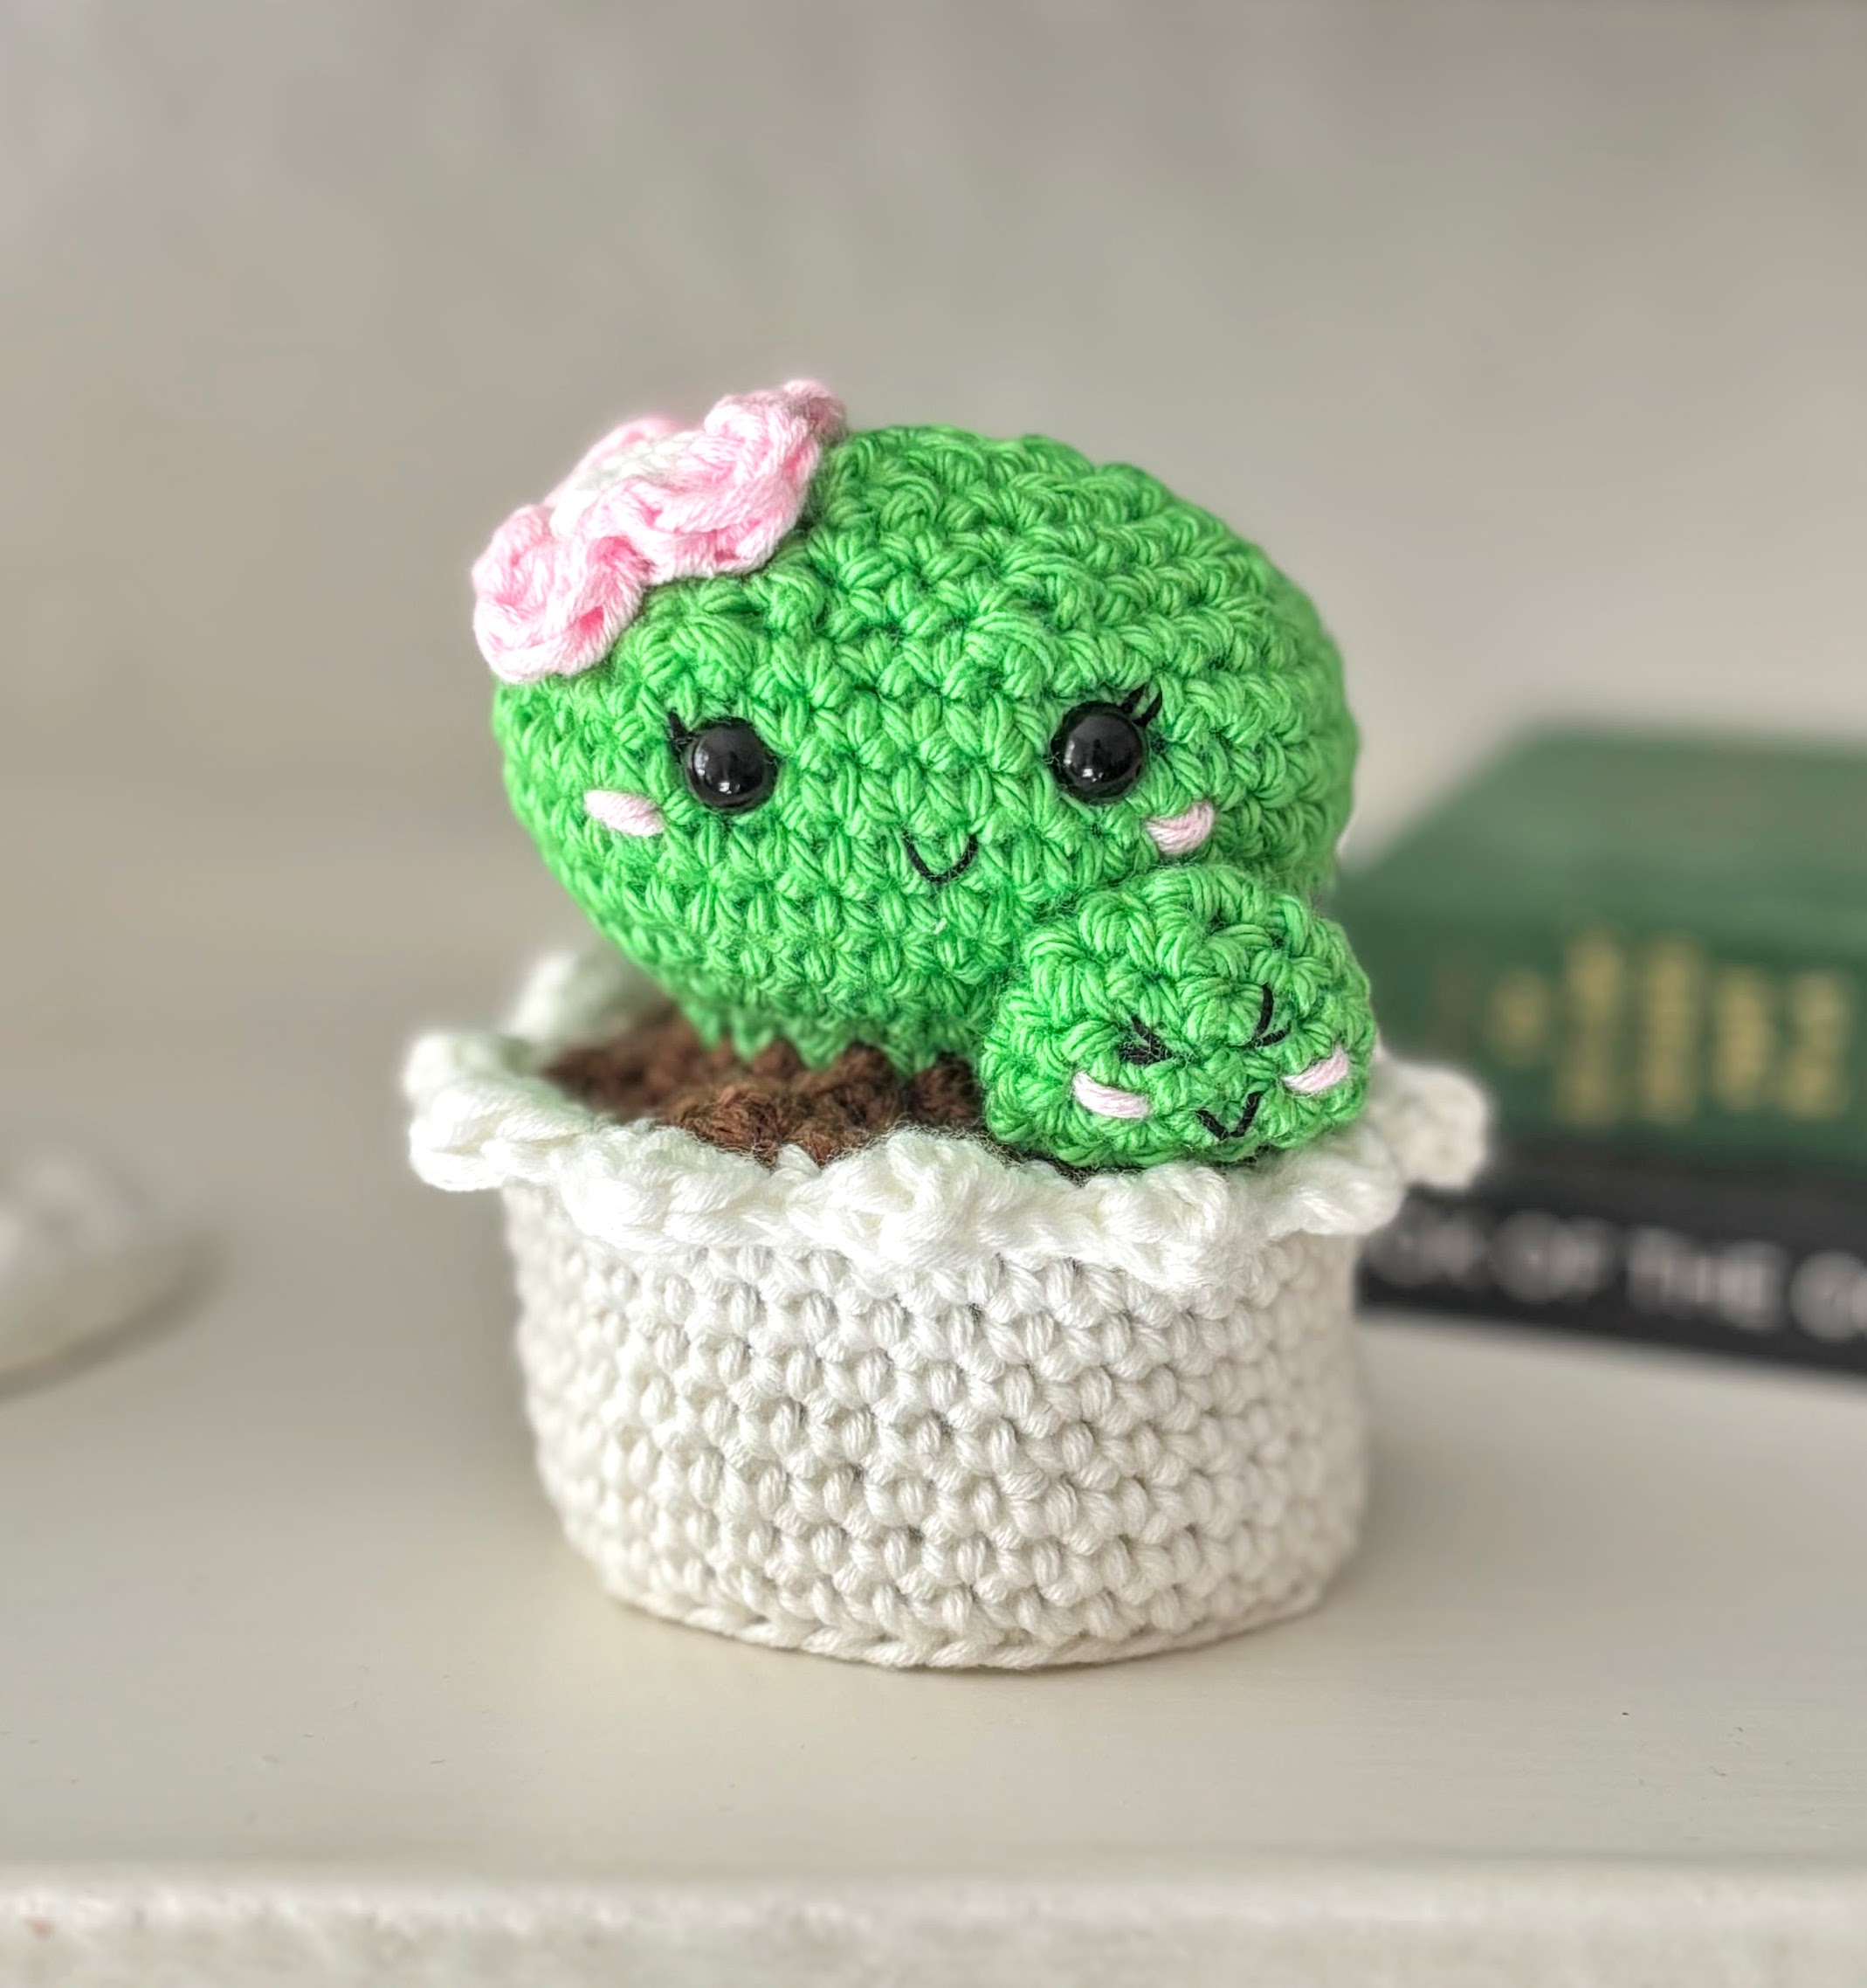
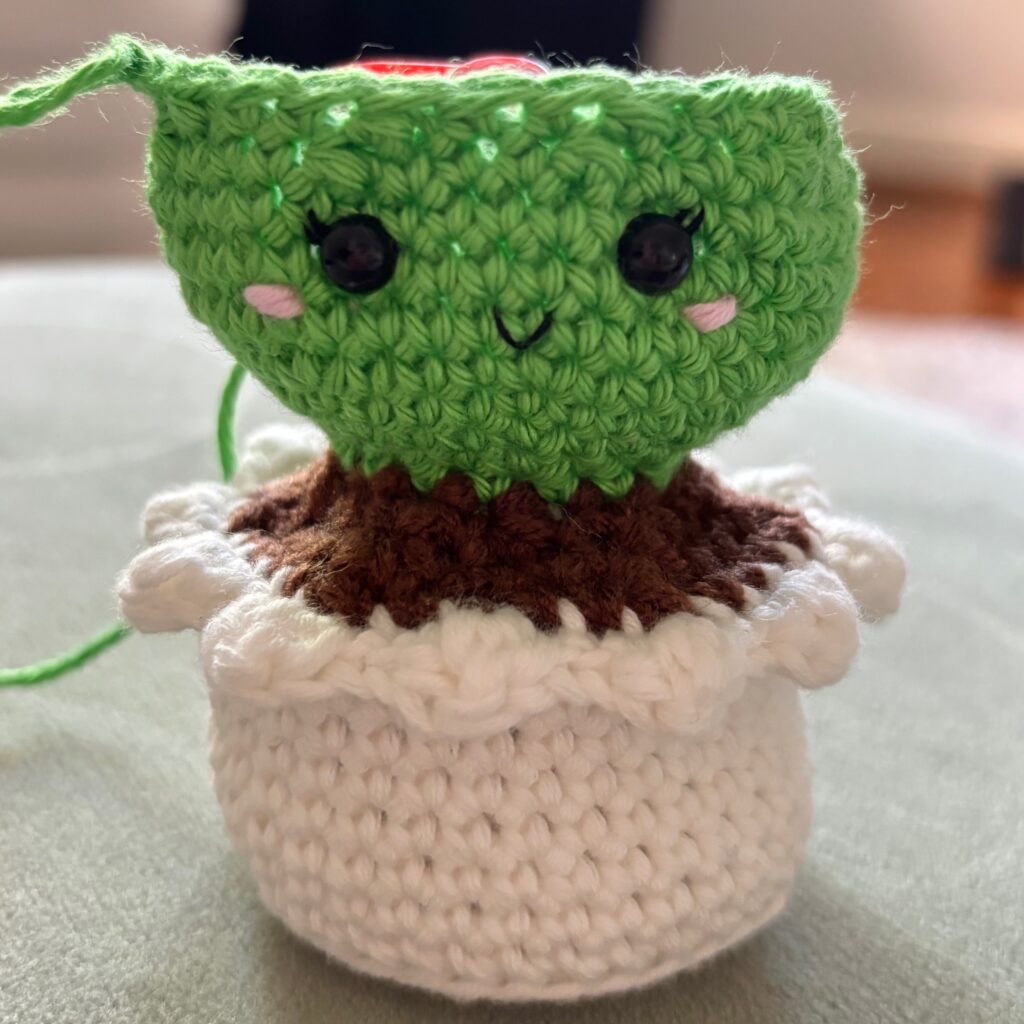
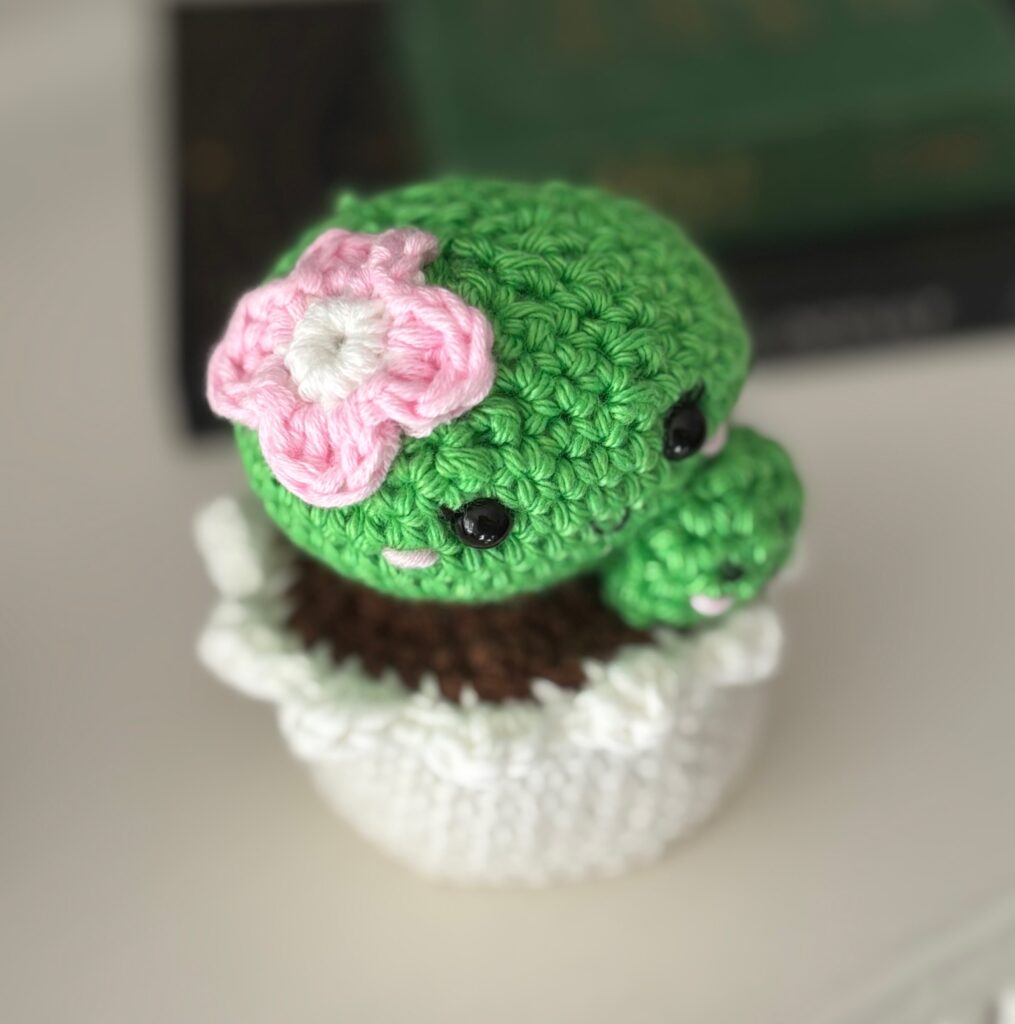
Cute cactus family crochet pattern 🌵
This pattern is quick, easy and an adorable addition to your home decor or as a gift! There is very little sewing required but does require changing colours. All you need is approx 60 minutes and a few materials.
This Pattern is completely free! If you would like a detailed and printable PDF, you can purchase this for immediate download on Etsy.
This plant is 8cm wide x 10cm long using a 3.0mm hook and 4 ply yarn but you can make it bigger or smaller by changing your hook size and yarn.
Although the pattern does use the colours green, white, pink and brown, you can use any colour scheme you wish.
This pattern is at easy level and written in US crochet terms.
You can make as many of these cuties as you like for yourself or as gifts. You can also sell your finished product but must credit Crochet at Midnight. In no way can you reproduce or sell this pattern. Please respect my rights as a designer.
Gauge: 22 stitches by 24 rows = 4 inches (10cm)
Abbreviations
CH – Chain Stitch SC – Single Crochet
DC – Double Crochet HDC – Half Double Crochet
DEC – Decrease INC – Increase
SL ST – Slip Stitch FLO – Front Loops Only
BLO – Back Loops Only
(Sc, inc) x2 – Complete stitches inside the brackets the indicated number of times.
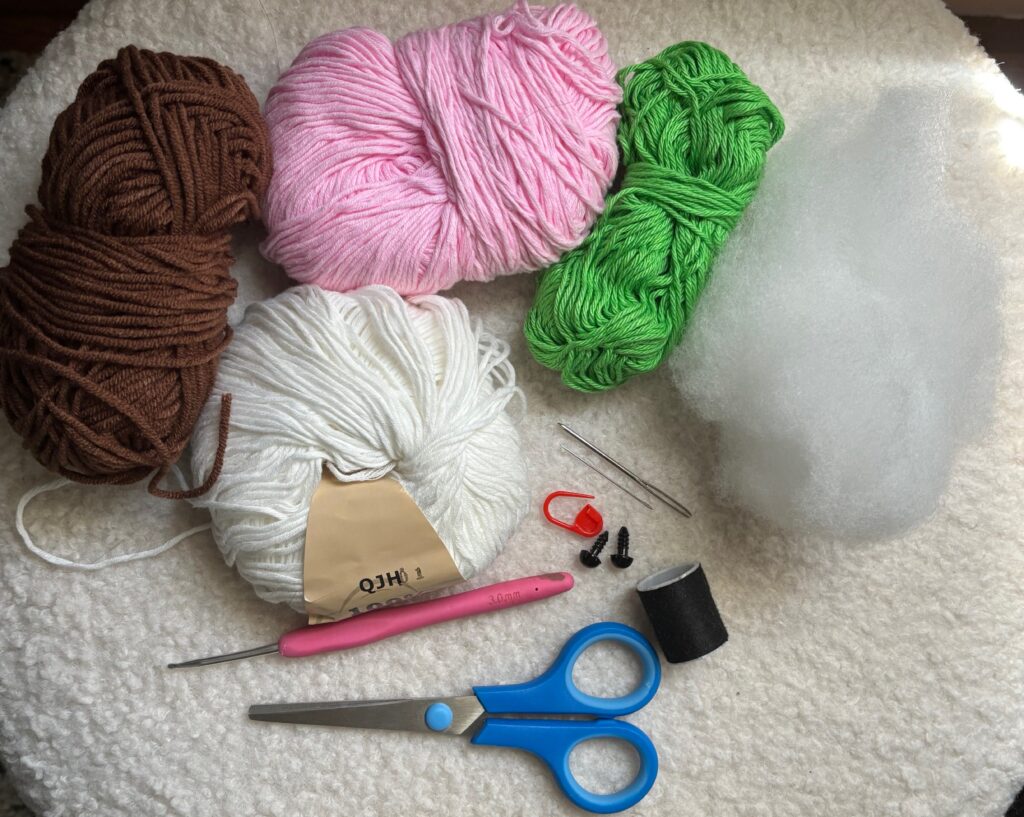
Materials
- 🌵3.0mm hook
- 🌵 Approx 15g 4 ply white cotton yarn
- 🌵 Approx 15g 4 ply green cotton yarn
- 🌵 A small amount of pink yarn
- 🌵 A small amount of brown yarn
- 🌵 2mm Safety eyes
- 🌵 Black thread
- 🌵 Stitch marker
- 🌵 Sewing needle
- 🌵Tapestry needle
- 🌵 Filling
- 🌵 Scissors
Instructions
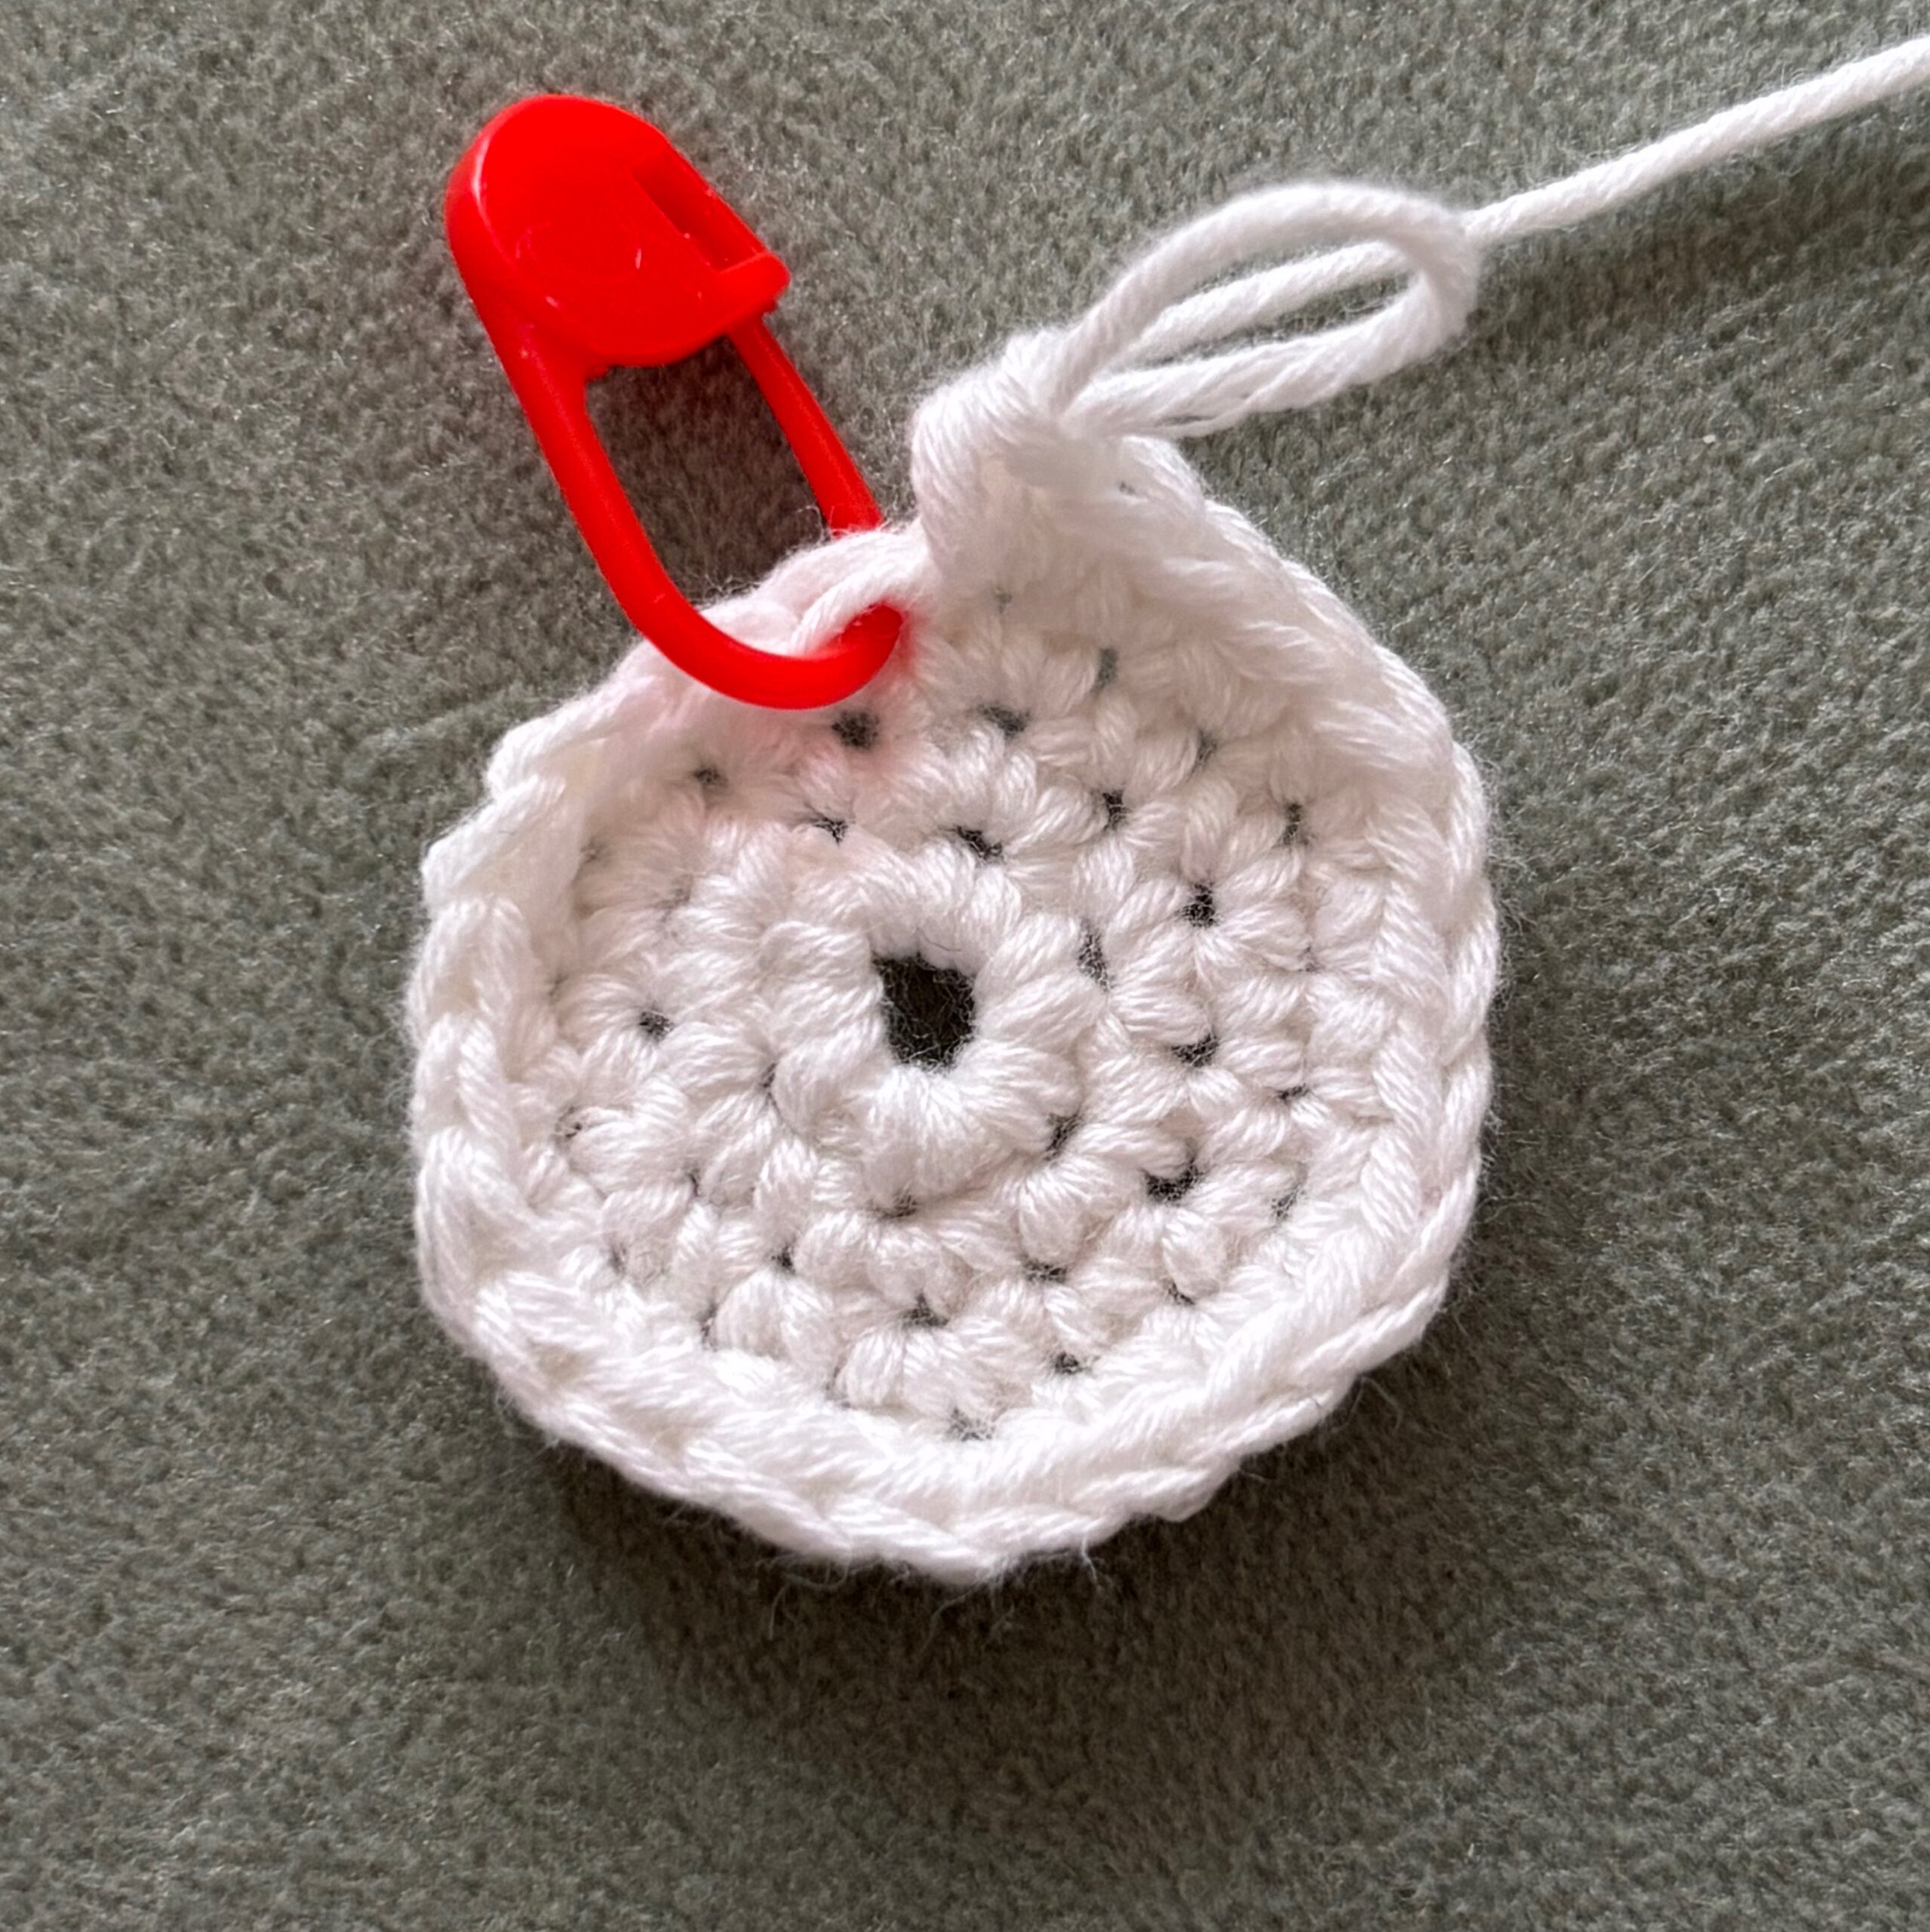
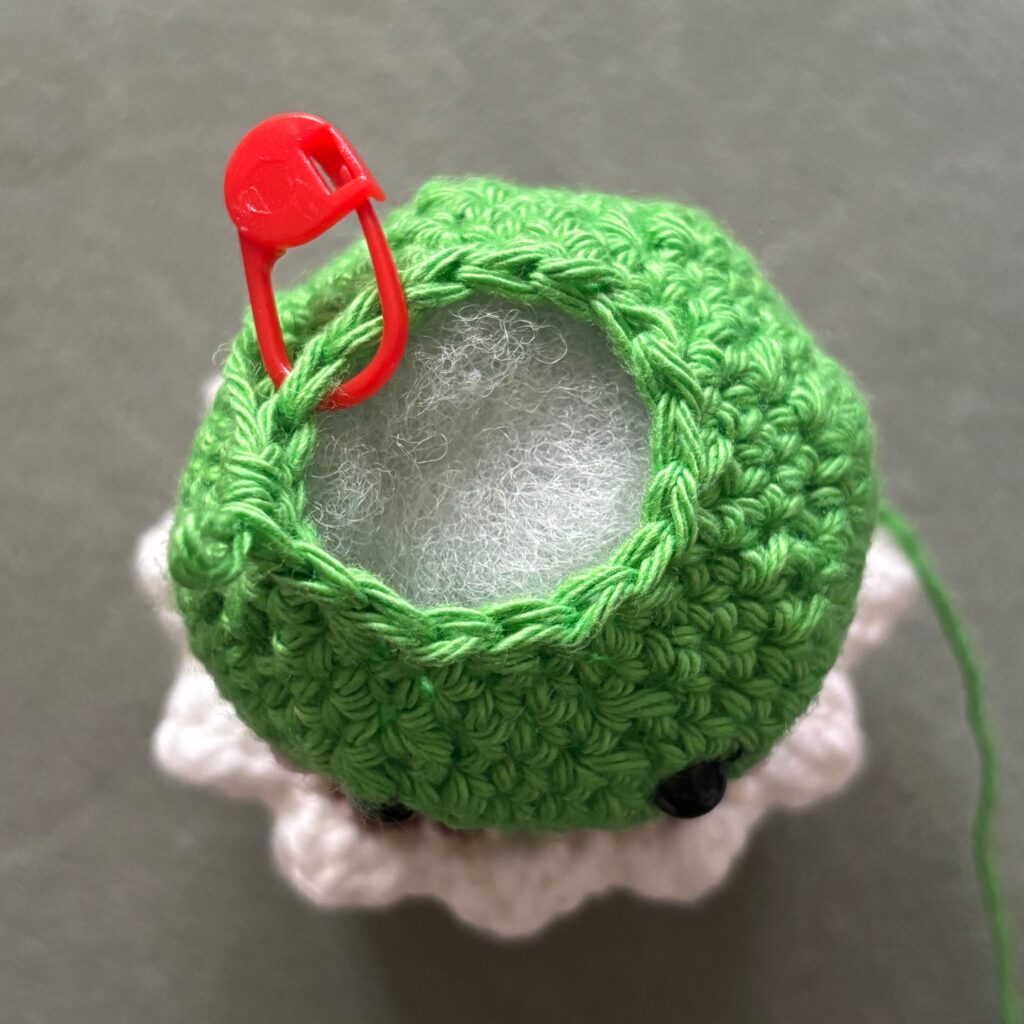
This pattern is worked in continuous rounds without joining. Use a stitch marker to mark the end of each round and move the marker up at the beginning of each round.
Mother Cactus
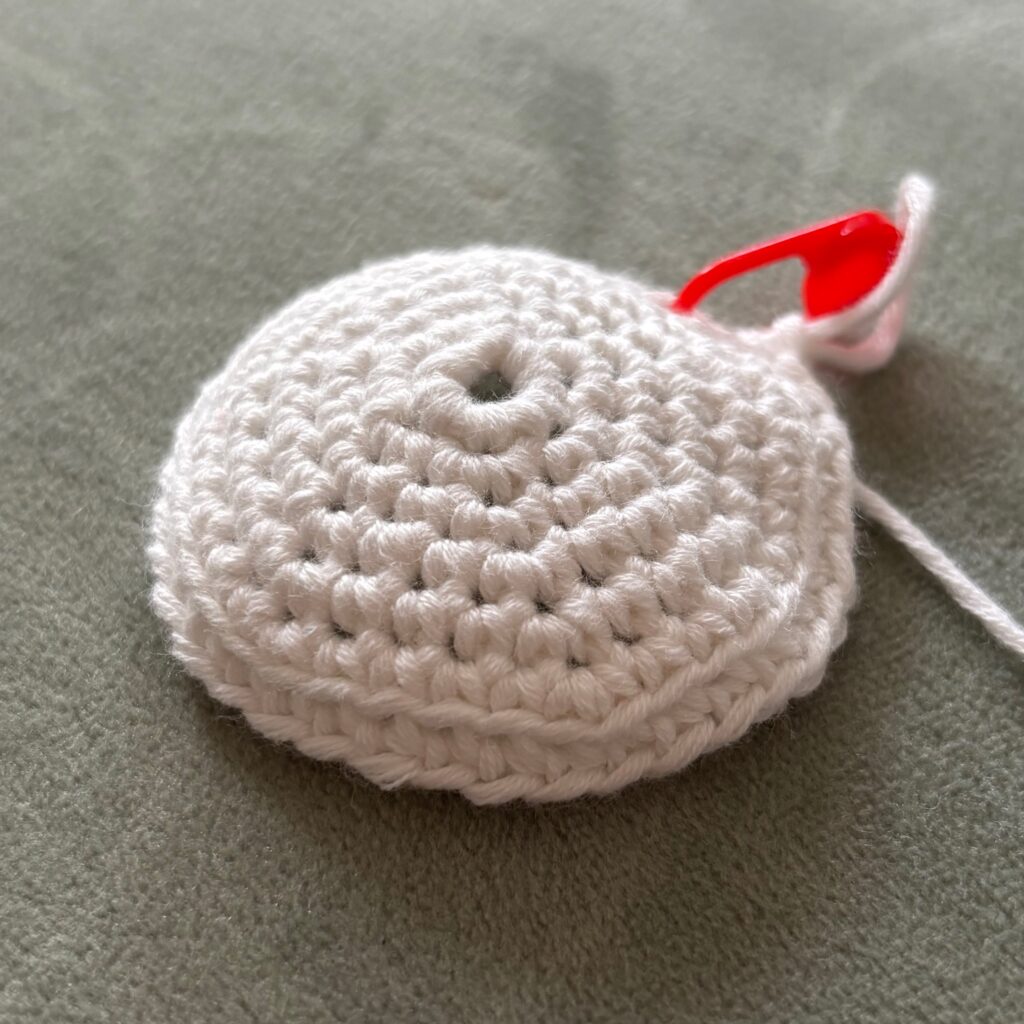
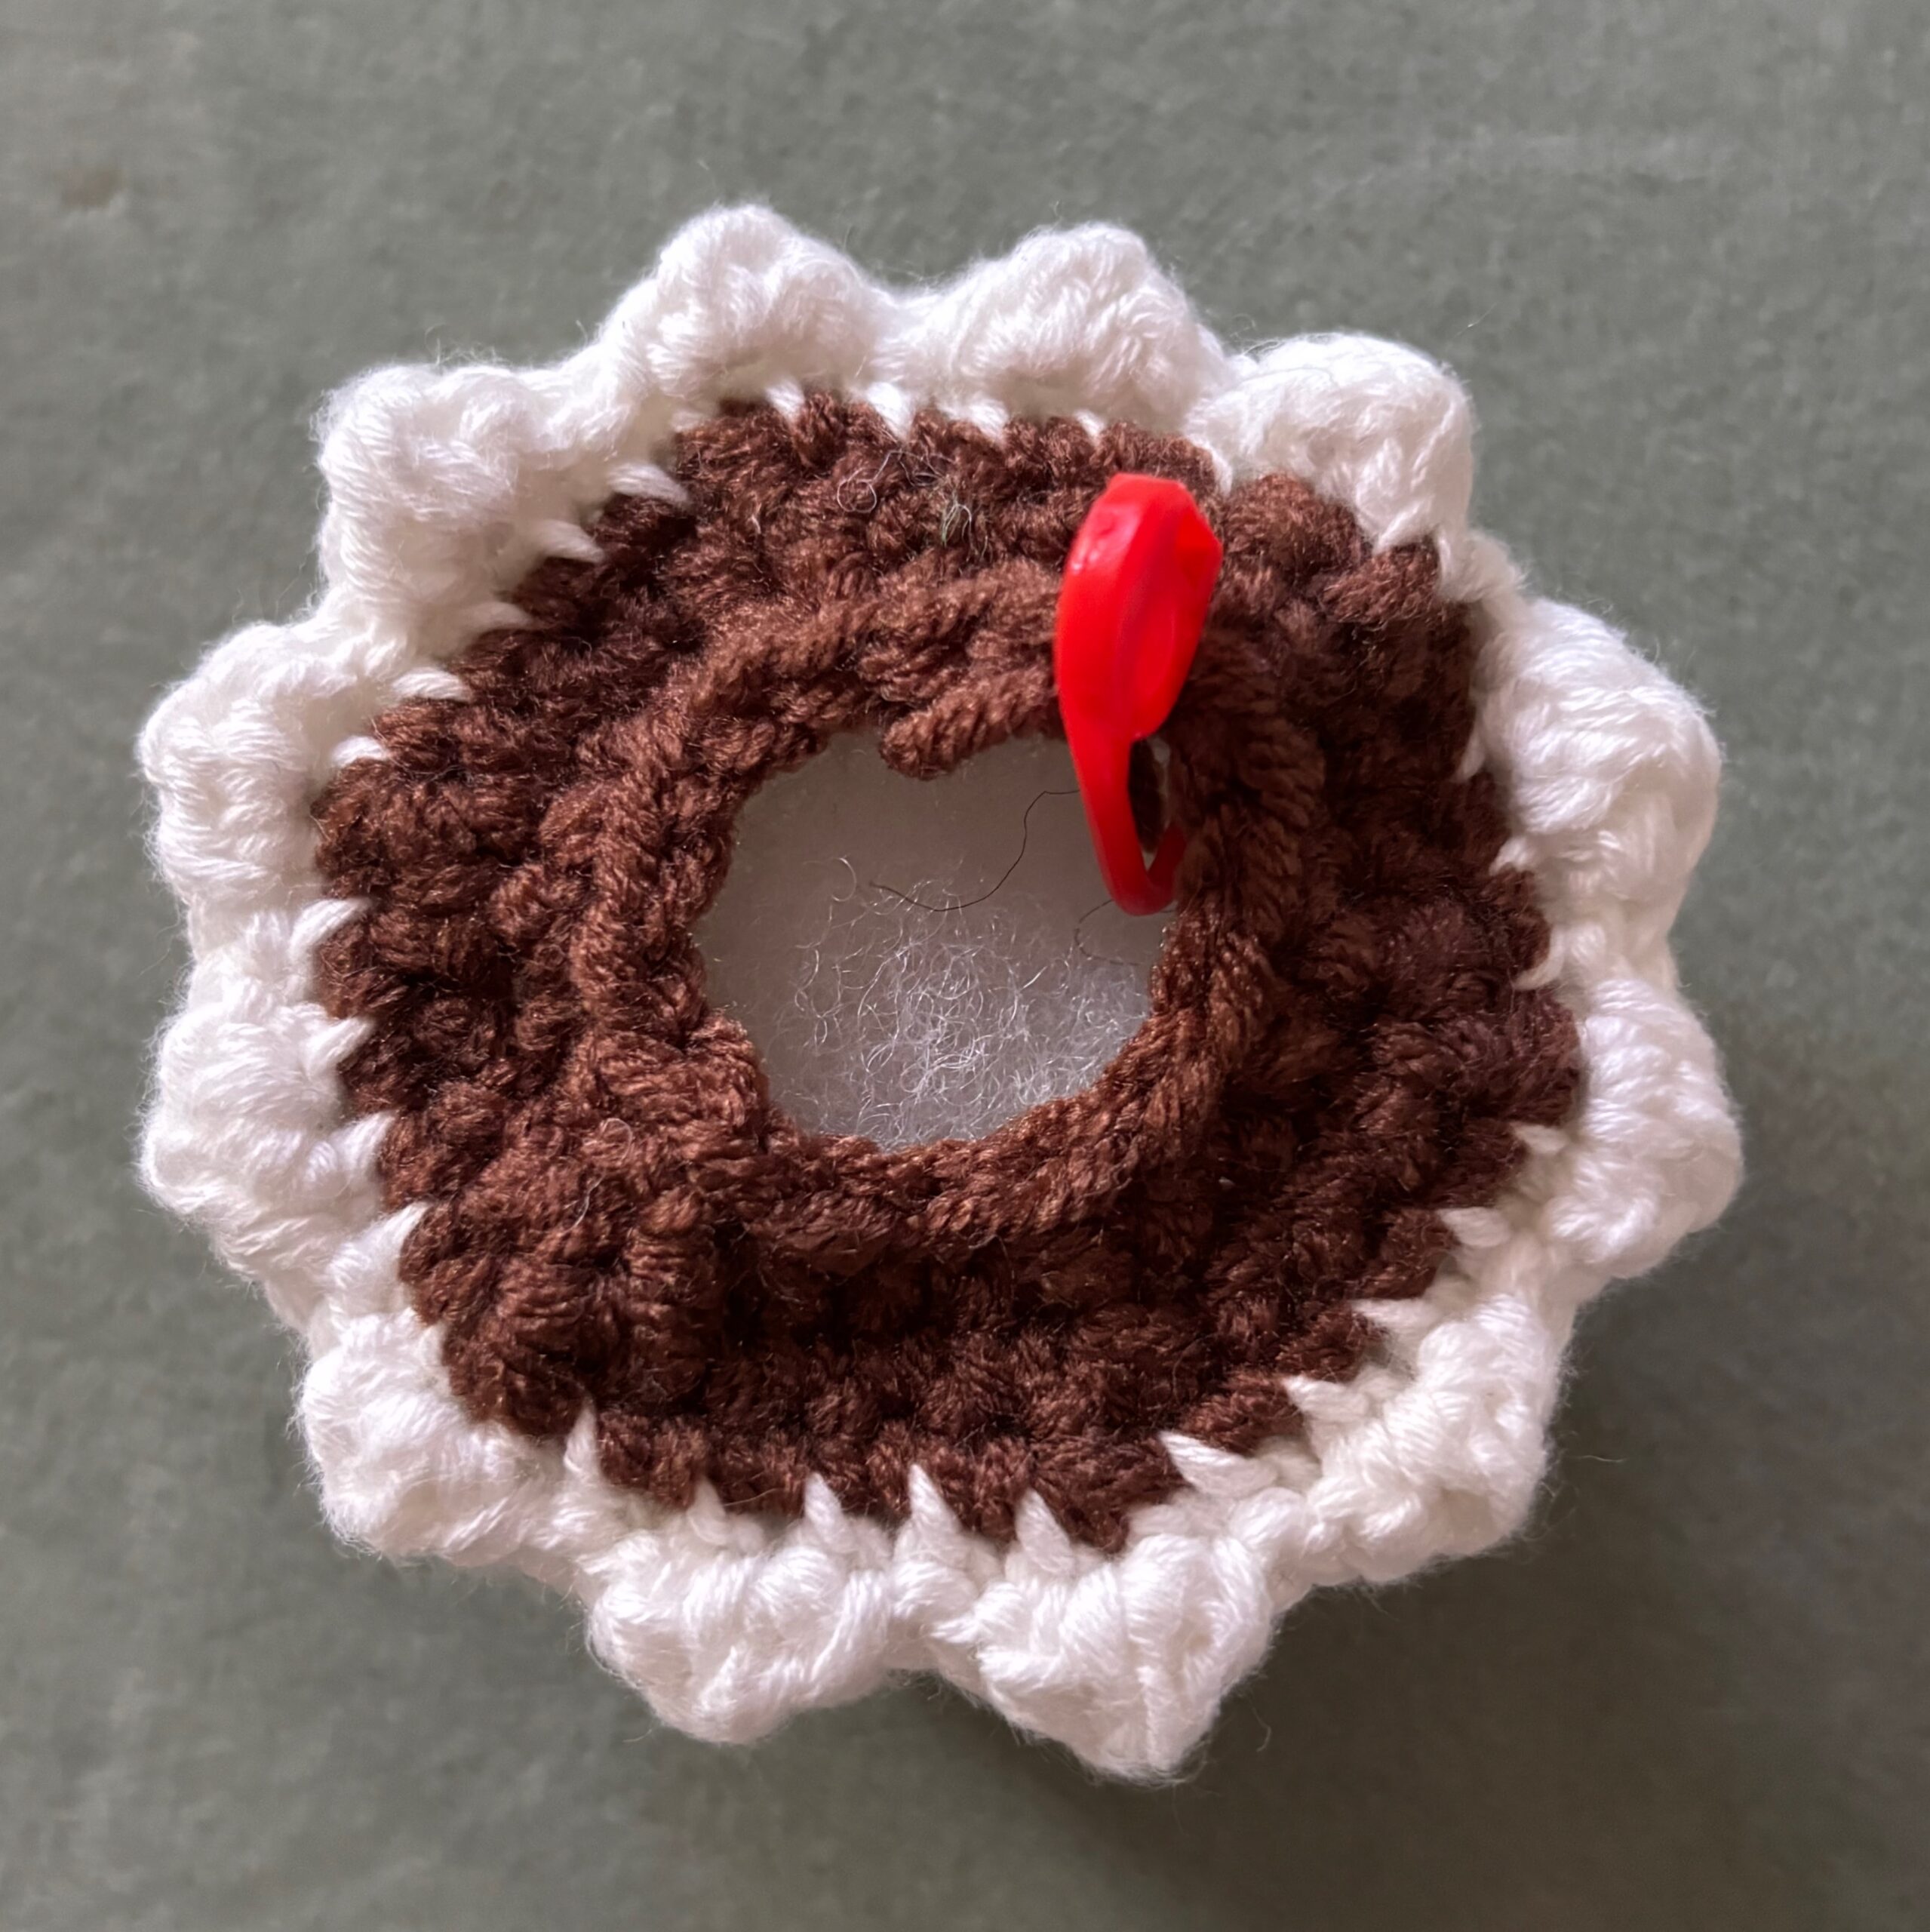
We are going to start by making the pot.
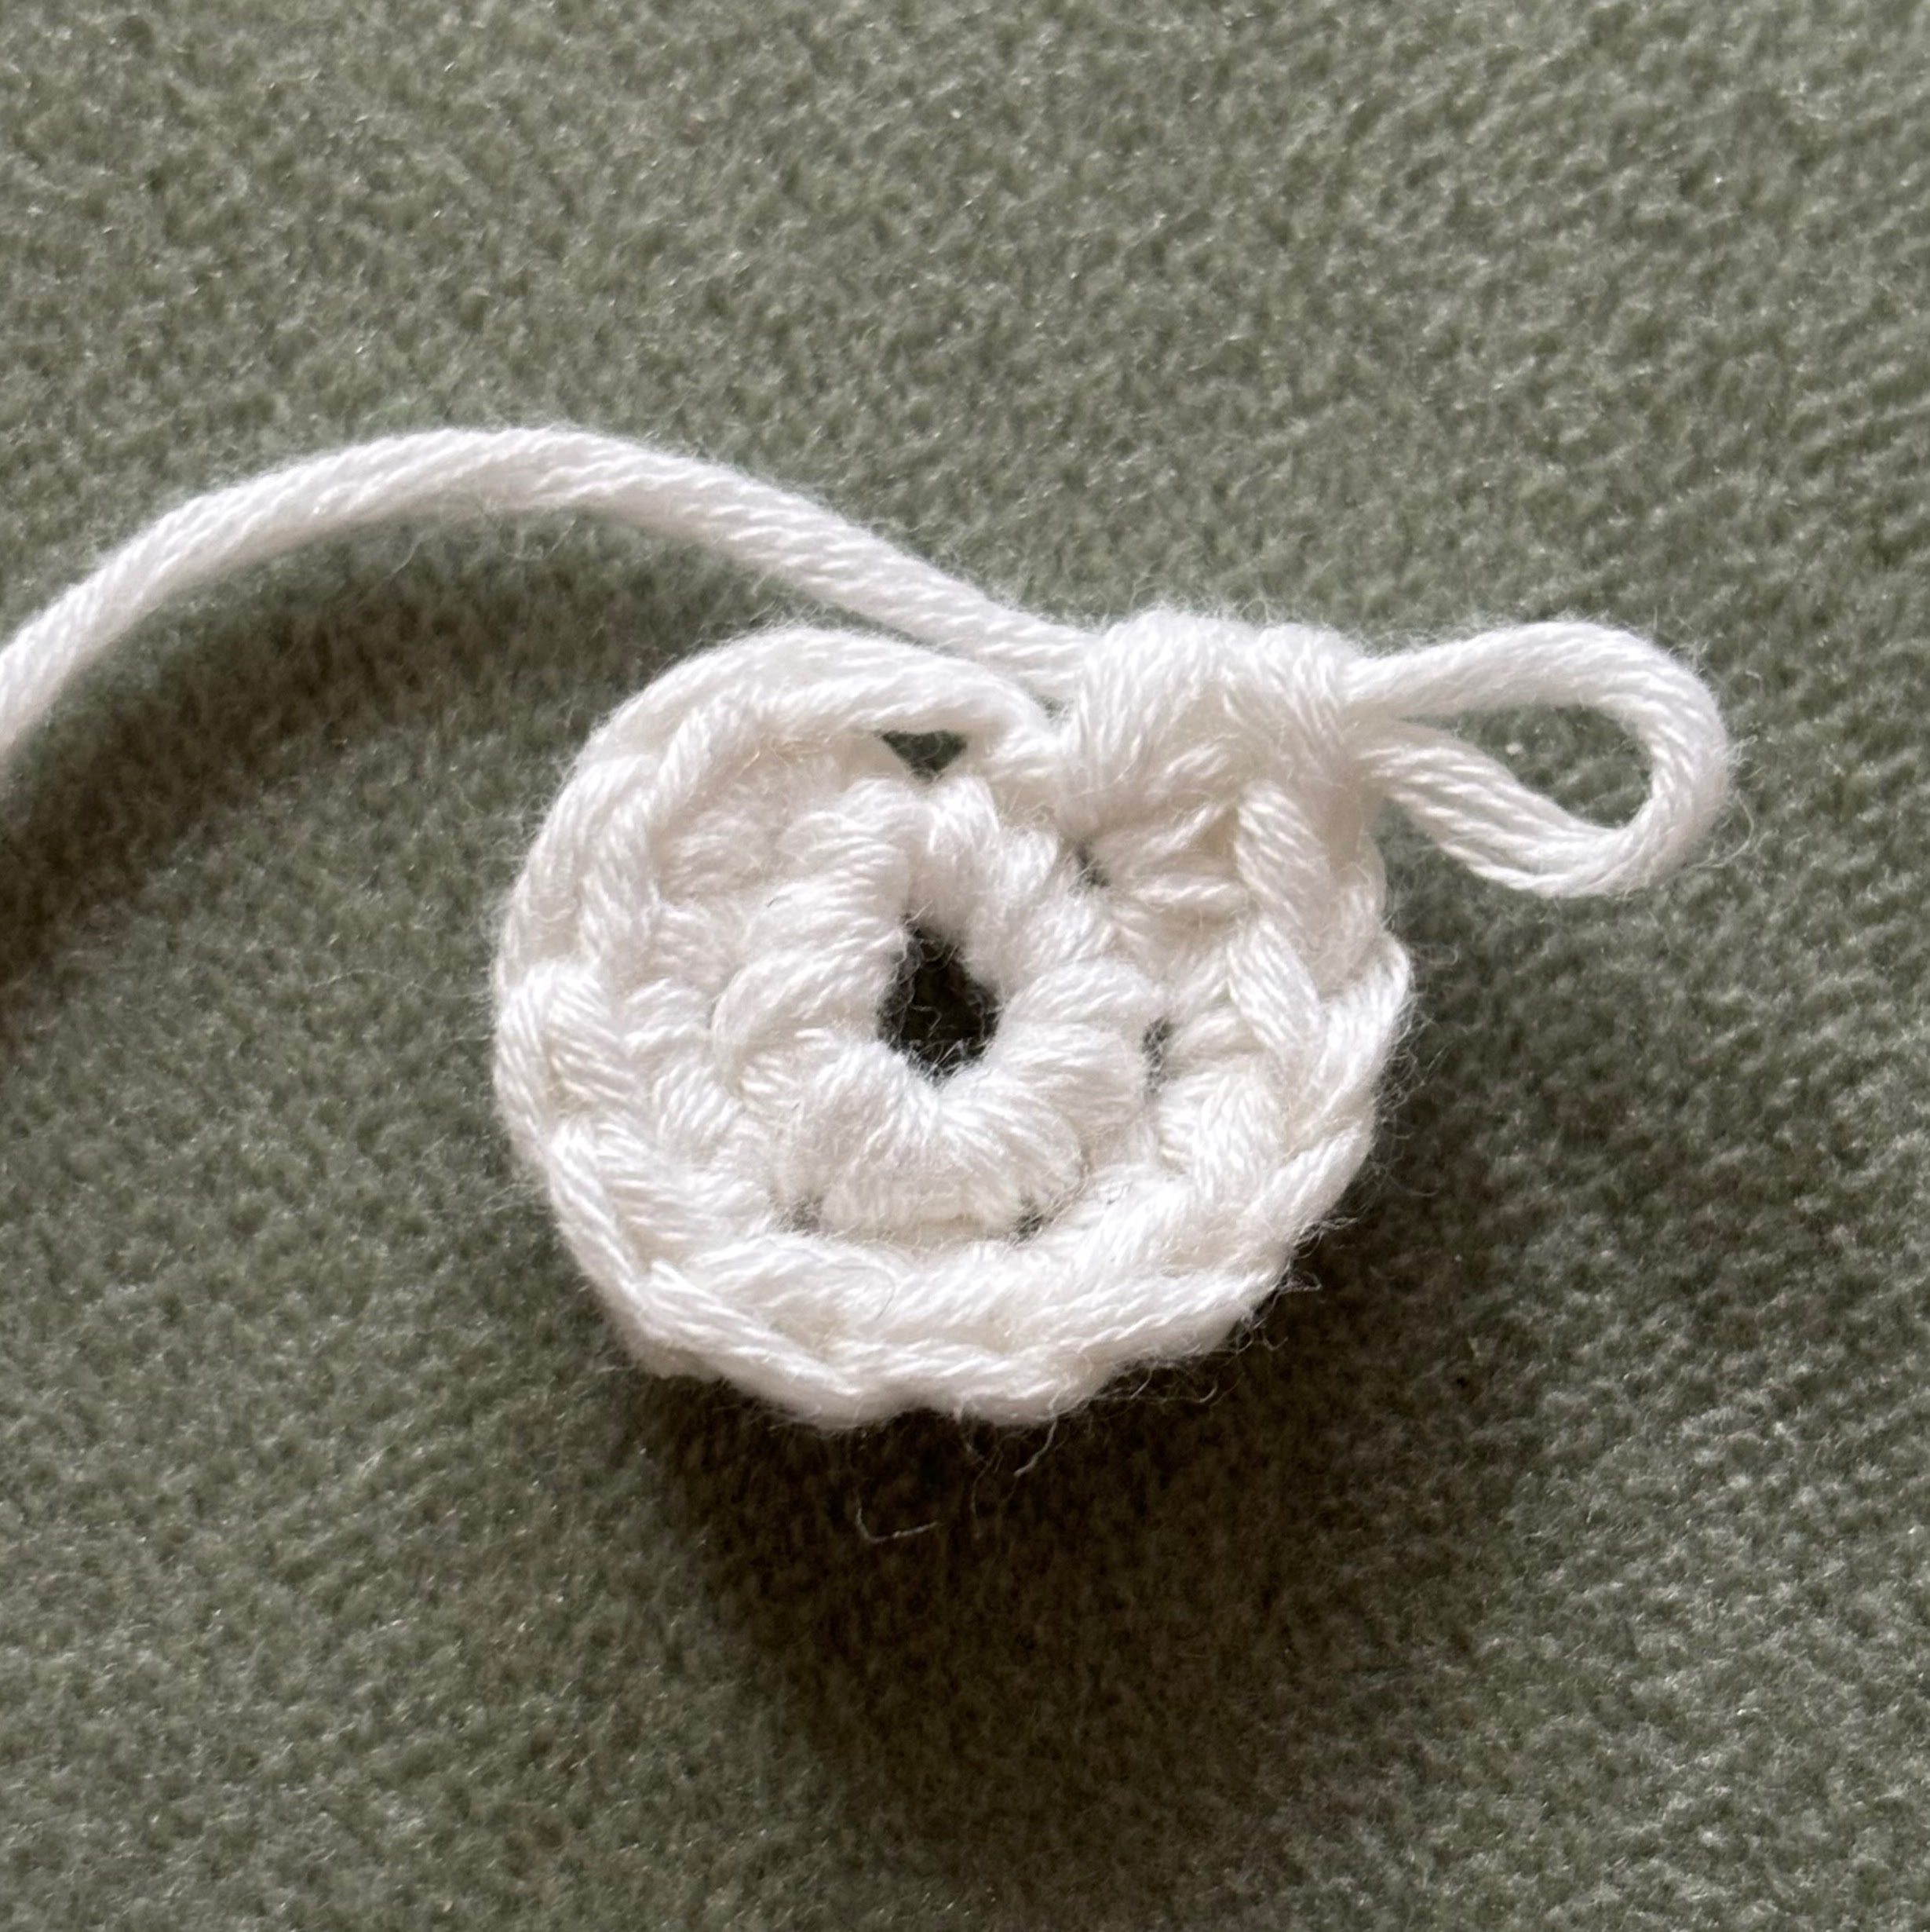
Using white yarn, ch 4, sl st into first ch to make a ring.
Round 1. Sc 6 into ring (6)
Round 2. Inc 6 (12)
Round 3. (Sc, inc) x6 (18)
Round 4. (Sc 2, inc) x6 (24)
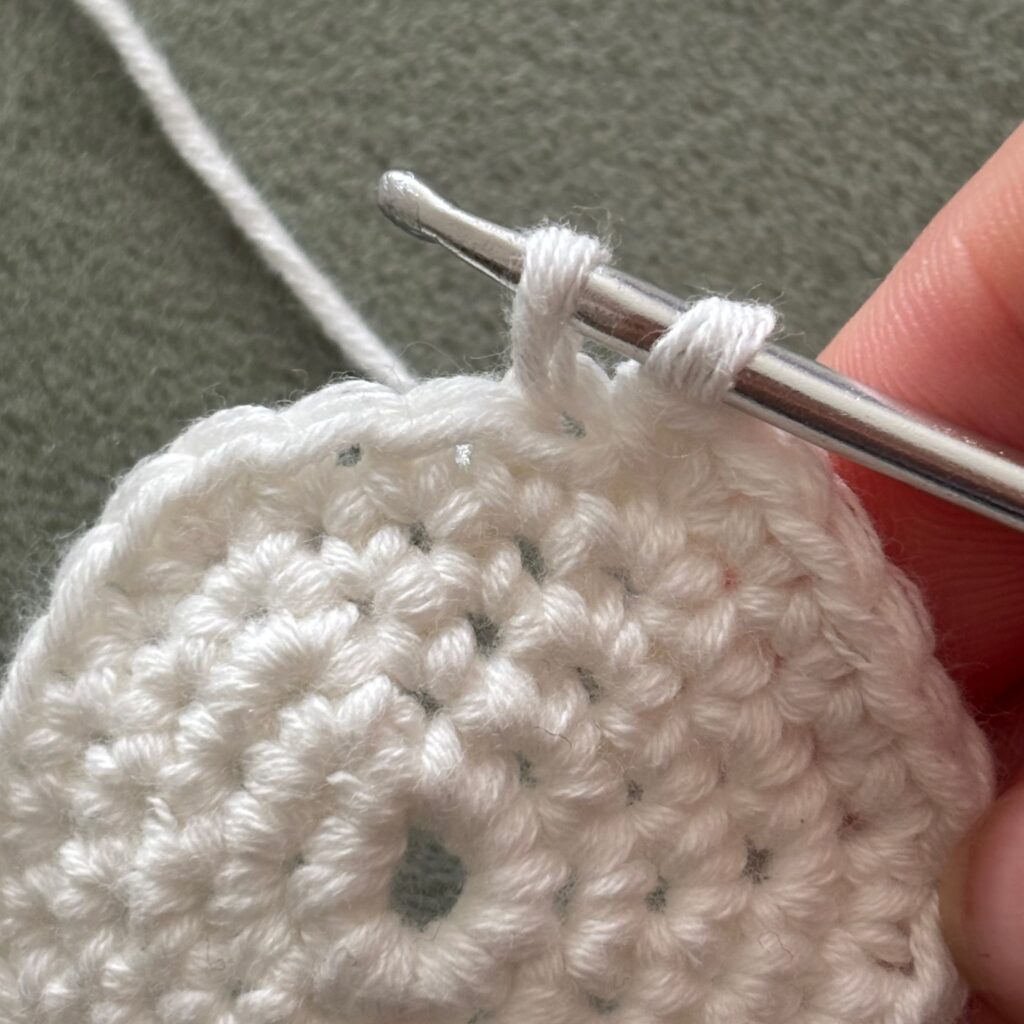
Round 5. (Sc 3, inc) x6 (30)
Round 6. (Sc 4, inc) x6 (36)
Round 7. (BLO) Sc 36 (36)
Round 8. – Round 14. (7 rounds) Sc 36 (36)
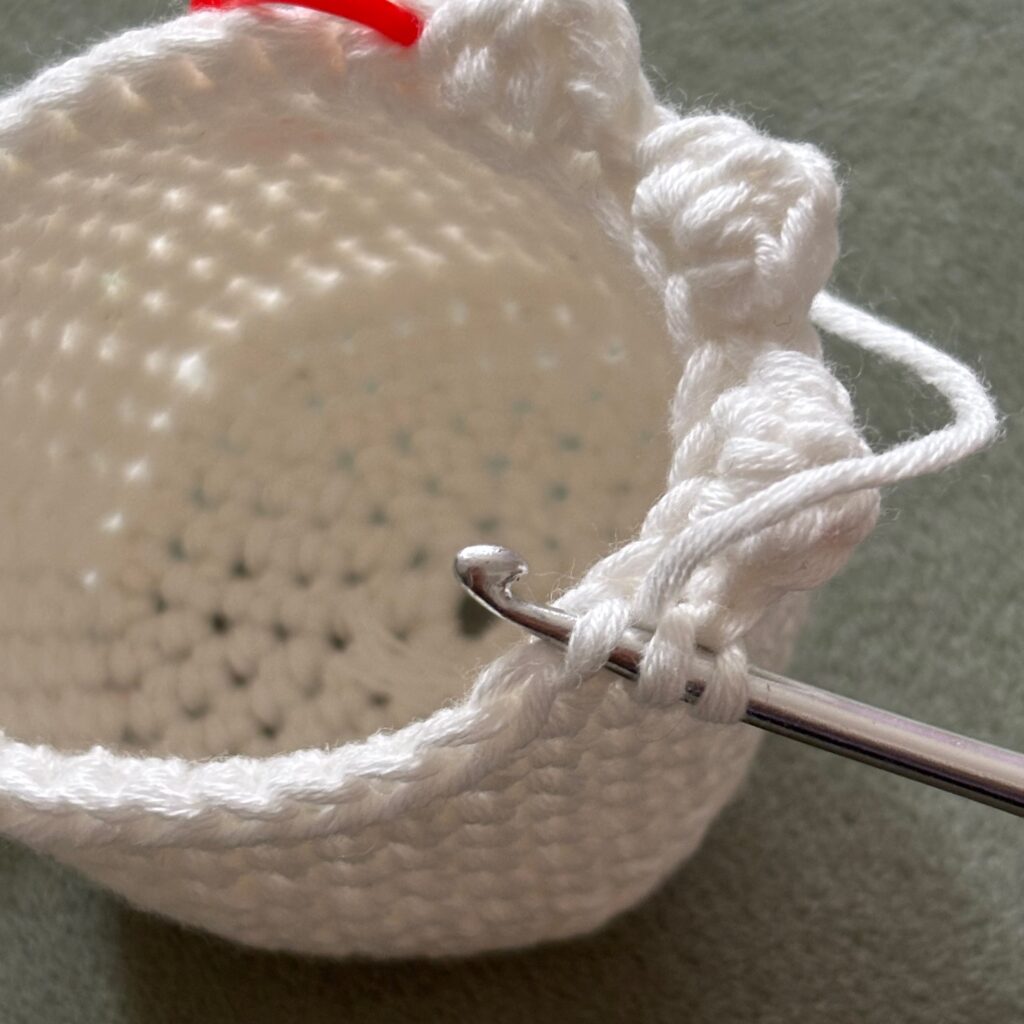
Round 15. (FLO) (Sl st, hdc, dc into same st, hdc into same st, sl st) x12 (60)
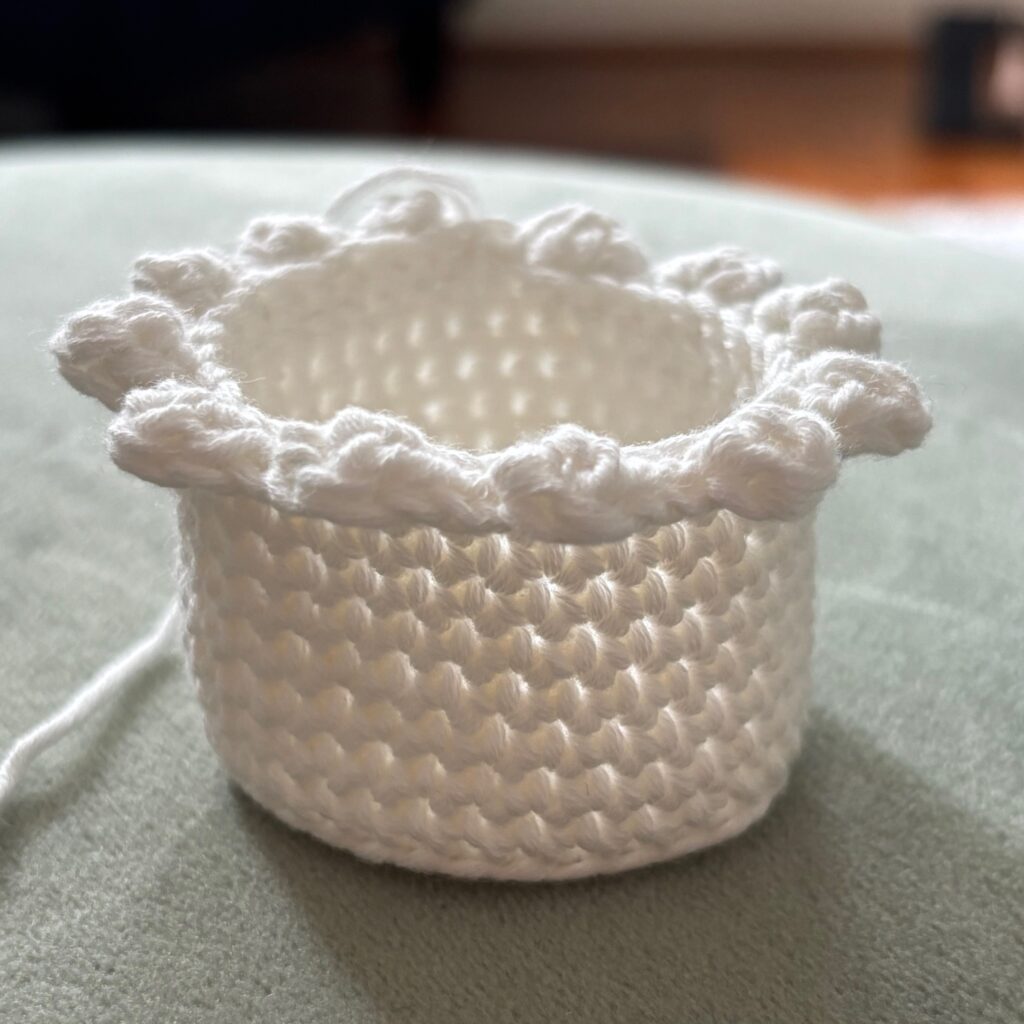
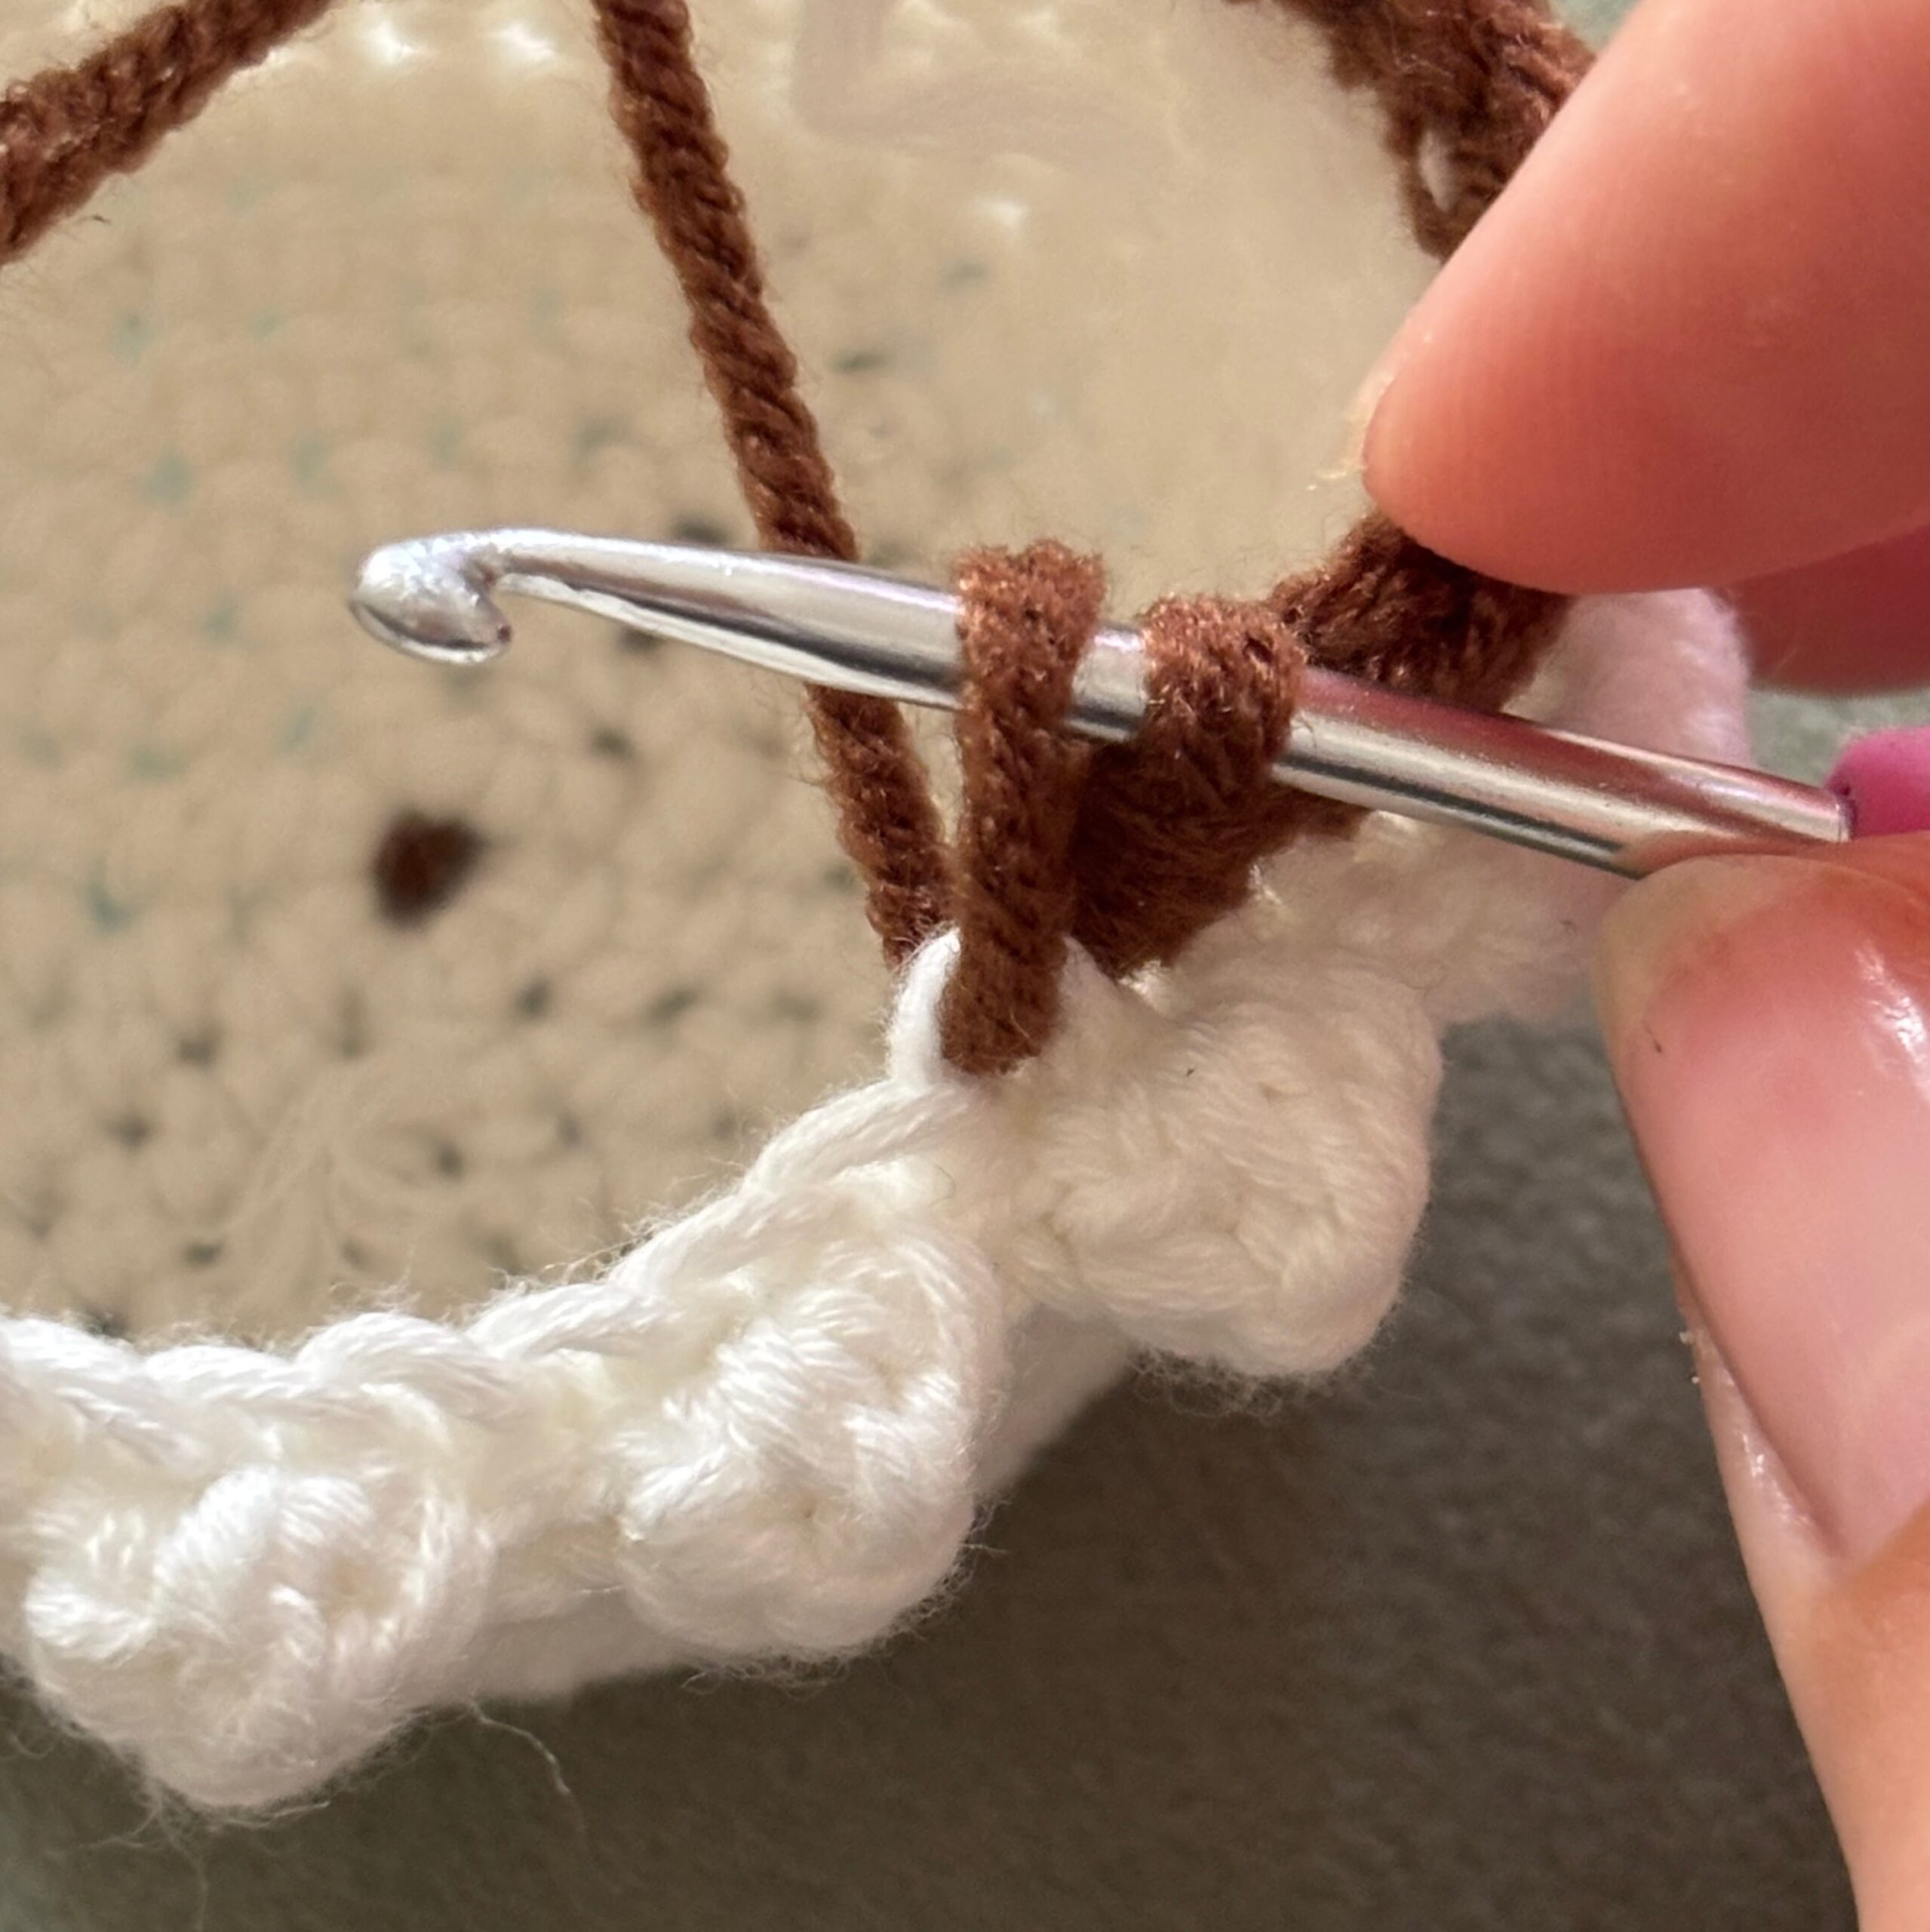
Change to brown yarn, cut off and tie white yarn.
Round 16. For this round, we are going to work into the back loops from the previous round where you worked into the front loops. (BLO) (Sc 4, dec) x6 (30)
Round 17. (Sc 3, dec) x6 (24)
Round 18. (Sc, dec) x8 (16)
Lightly add some filling, do not stuff too tight as you want the base and the top of the pot to stay as flat as possible.
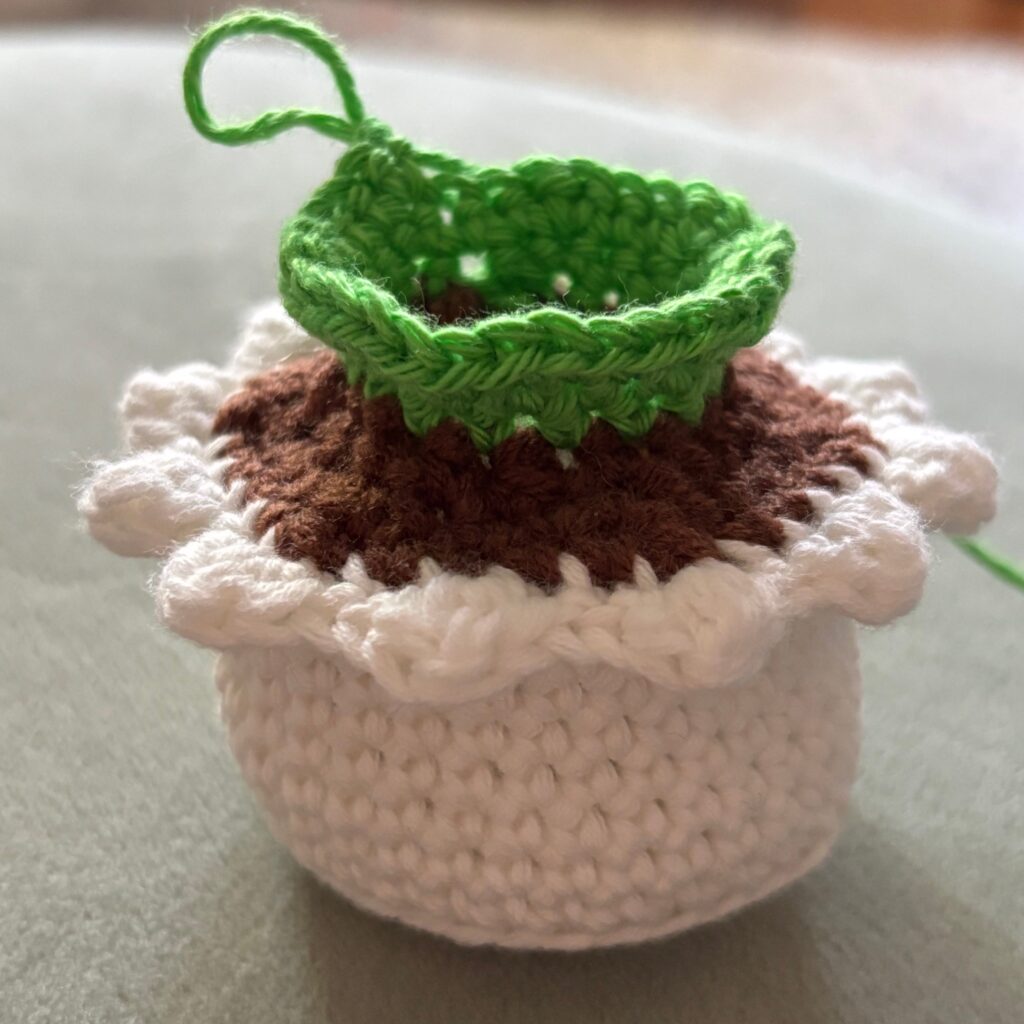
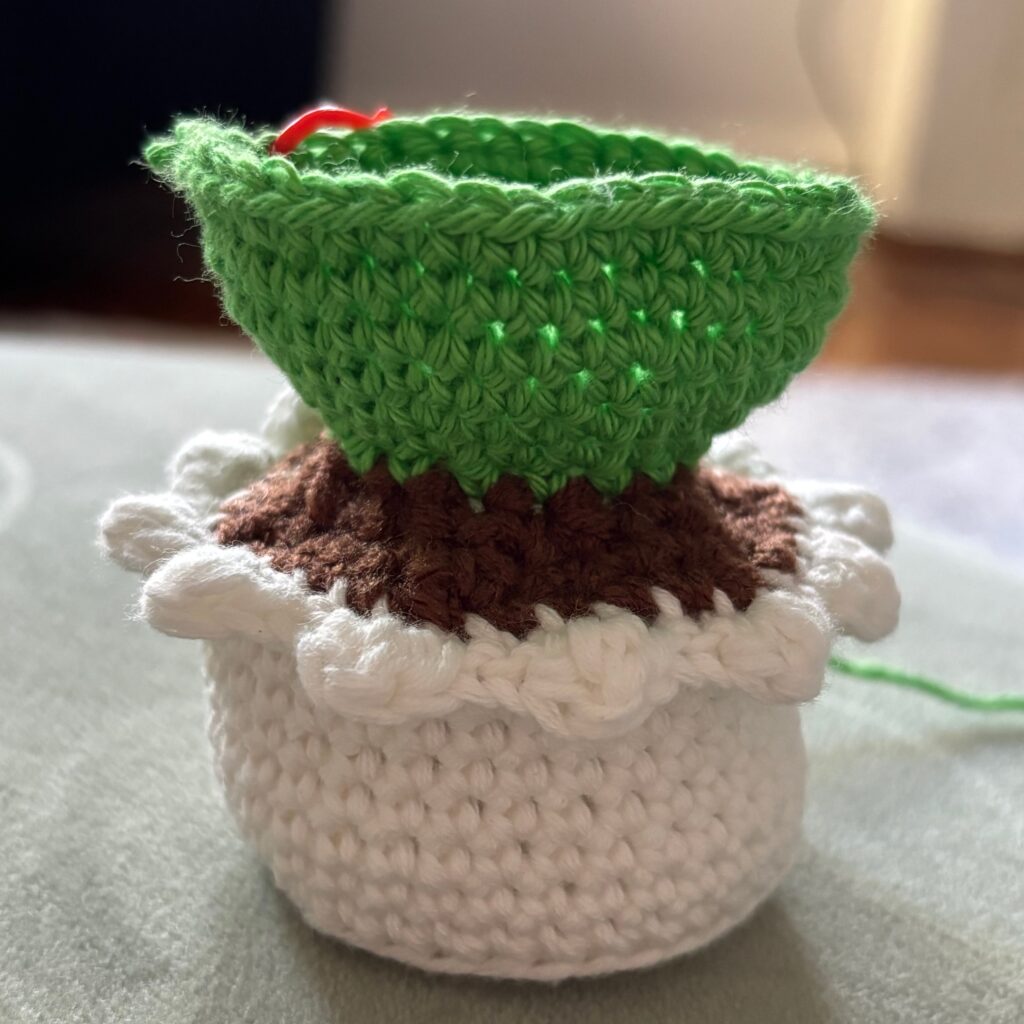
Change to green yarn. Cut off and tie brown yarn.
Round 19. Sc 16 (16)
Round 20. (Sc, inc) x8 (24)
Round 21. (Sc 2, inc) x8 (32)
Round 22. Sc 32 (32)
Round 23. (Sc 3, inc) x8 (40)
Round 24. Sc 40 (40)
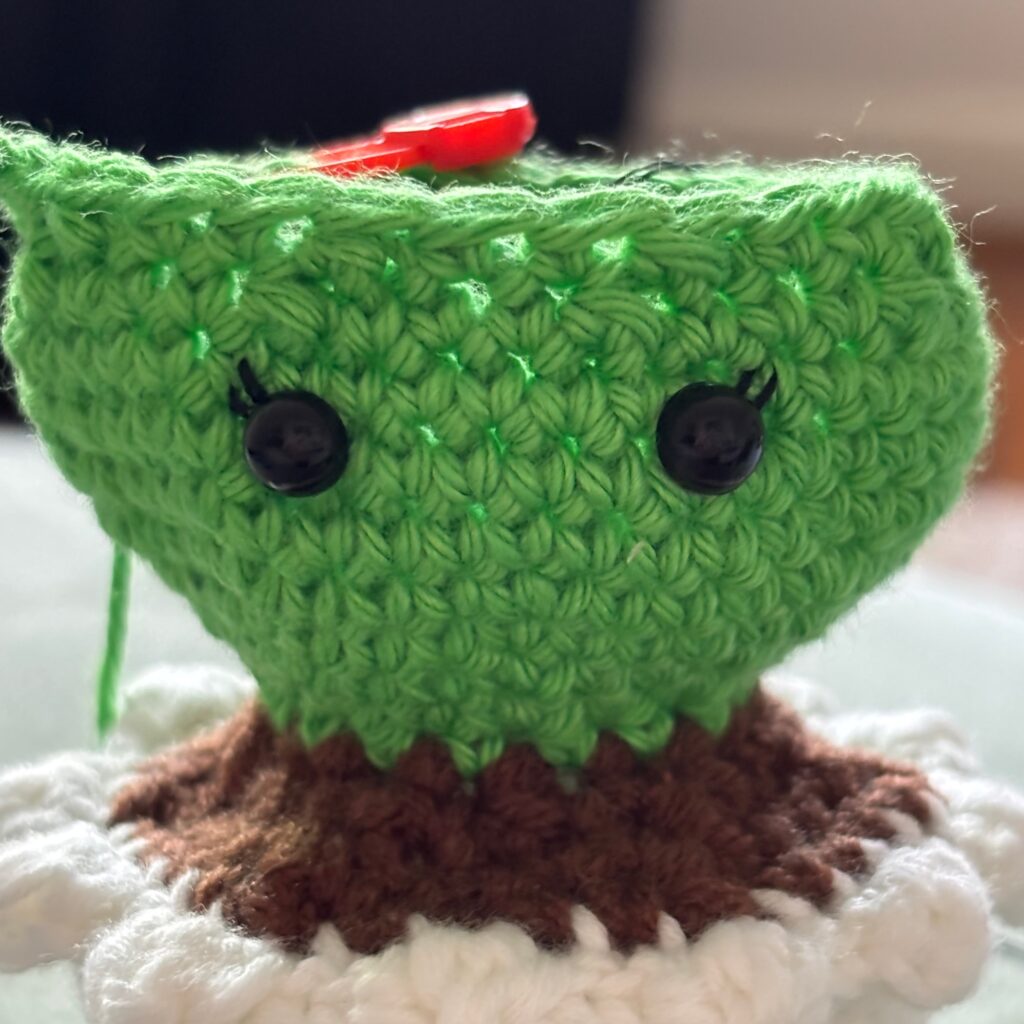
You can place a stitch marker somewhere on the next round as this will be where you will place the eyes. (Between rounds 27 & 28)
Round 25. – Round 26. (2 rounds) Sc 40 (40)
Round 27. (Sc 3, dec) x8 (32)
Round 28. (Sc 2, dec) x8 (24)
Add the eyes with 5 sc in-between but before you place the backs onto the eyes, you want to sew 2 small lines for eyelashes.
Fix your eyes in place and sew a small ‘V’ in the middle of the eyes with the point of the V placed two rounds down.
Take a tapestry needle and some pink yarn and make a horizontal line under each eye across 1 sc for the blush.
Round 29. Sc 24 (24)
Round 30. (Sc, dec) x8 (16)
Add filling.
Round 31. Dec 8 (8)
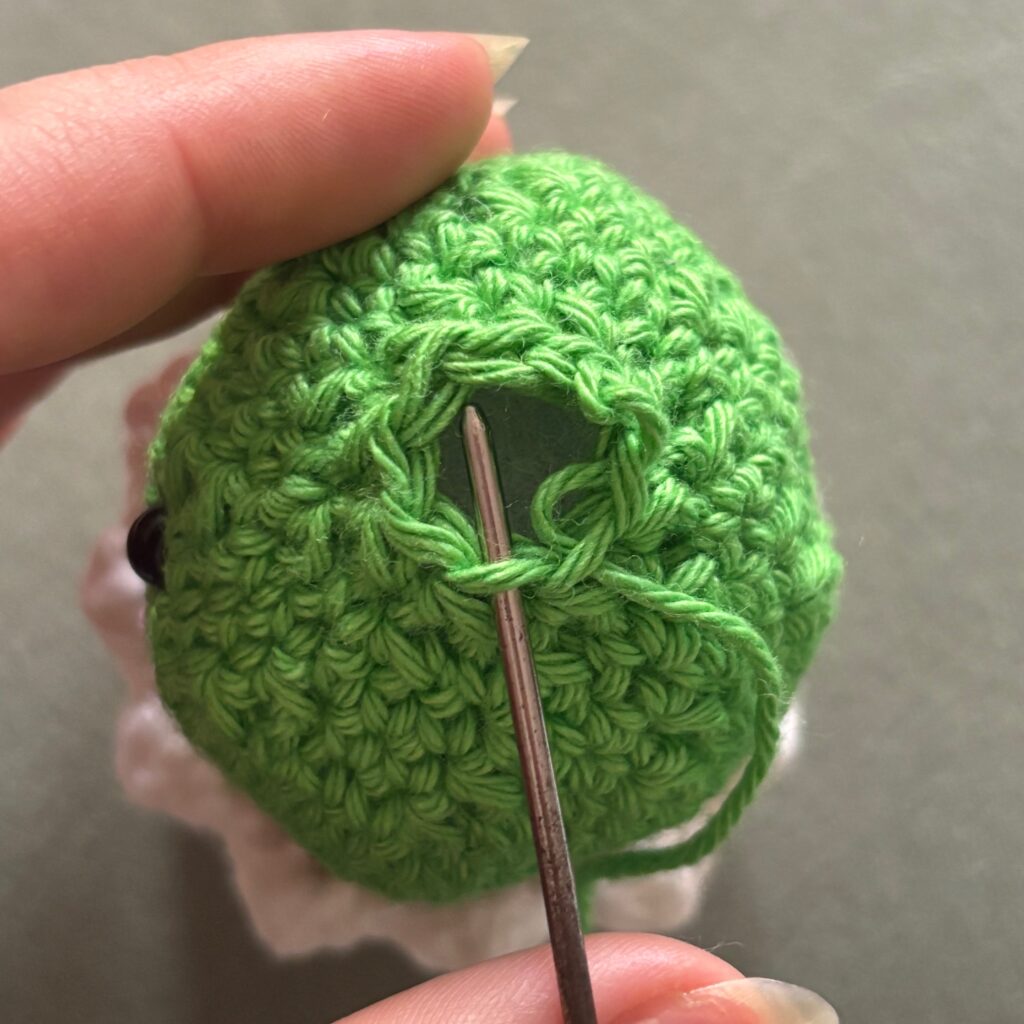
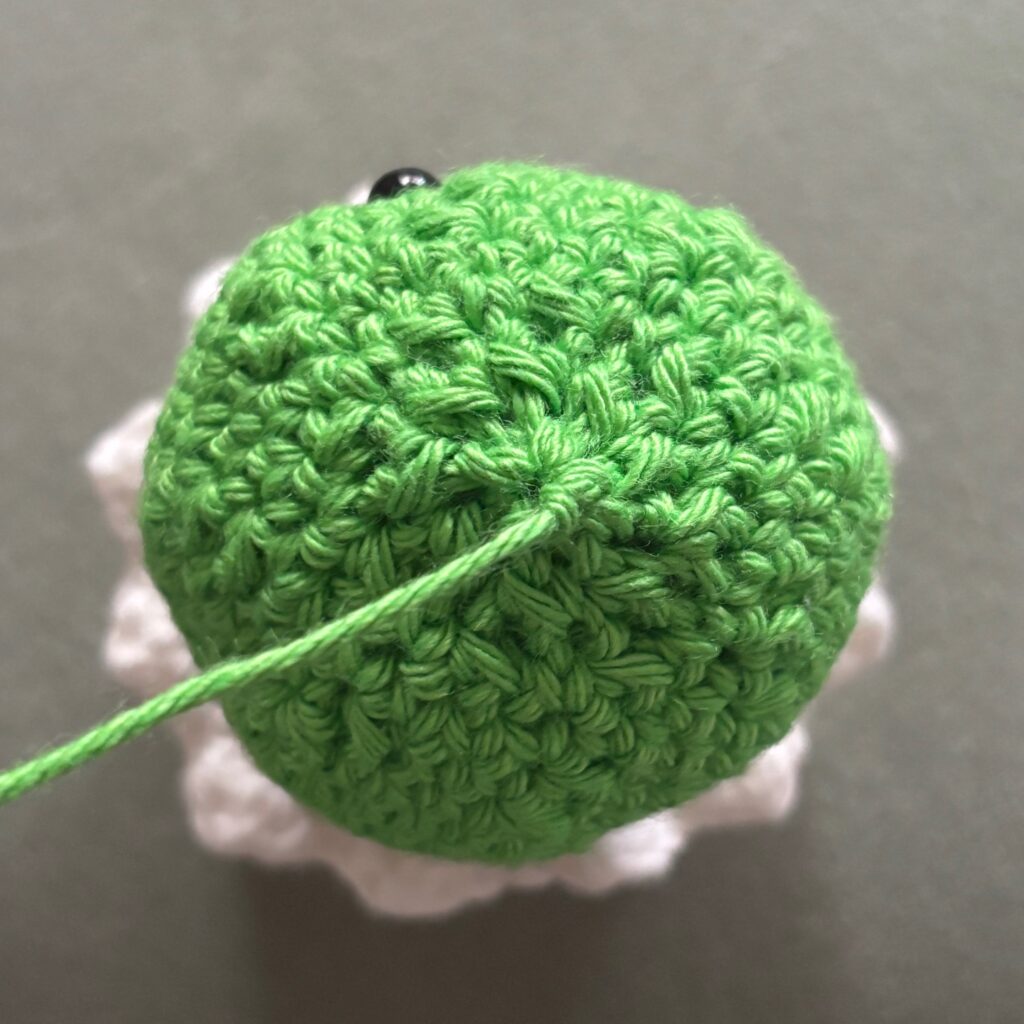
Sl st & ch 1. Cut off leaving some yarn to close the circle.
Take your tapestry needle and thread through the FLO of the dec 6 you just did and pull circle closed. Tie a knot and weave in ends.
Flower
With white yarn, ch 4, sl st into first st to make a circle.
Round 1. Sc 8, into circle (8)
Sl st into first sc and change to pink yarn. Cut off and tie white yarn.

Round 2. Hdc, dc into same st, dc, hdc into same st, sl st into same st, (sl st, hdc into same st, dc into same st, dc, hdc into same st, sl st into same st) x3 (24)
sl st into the first stitch where you started with you first hdc & dc.
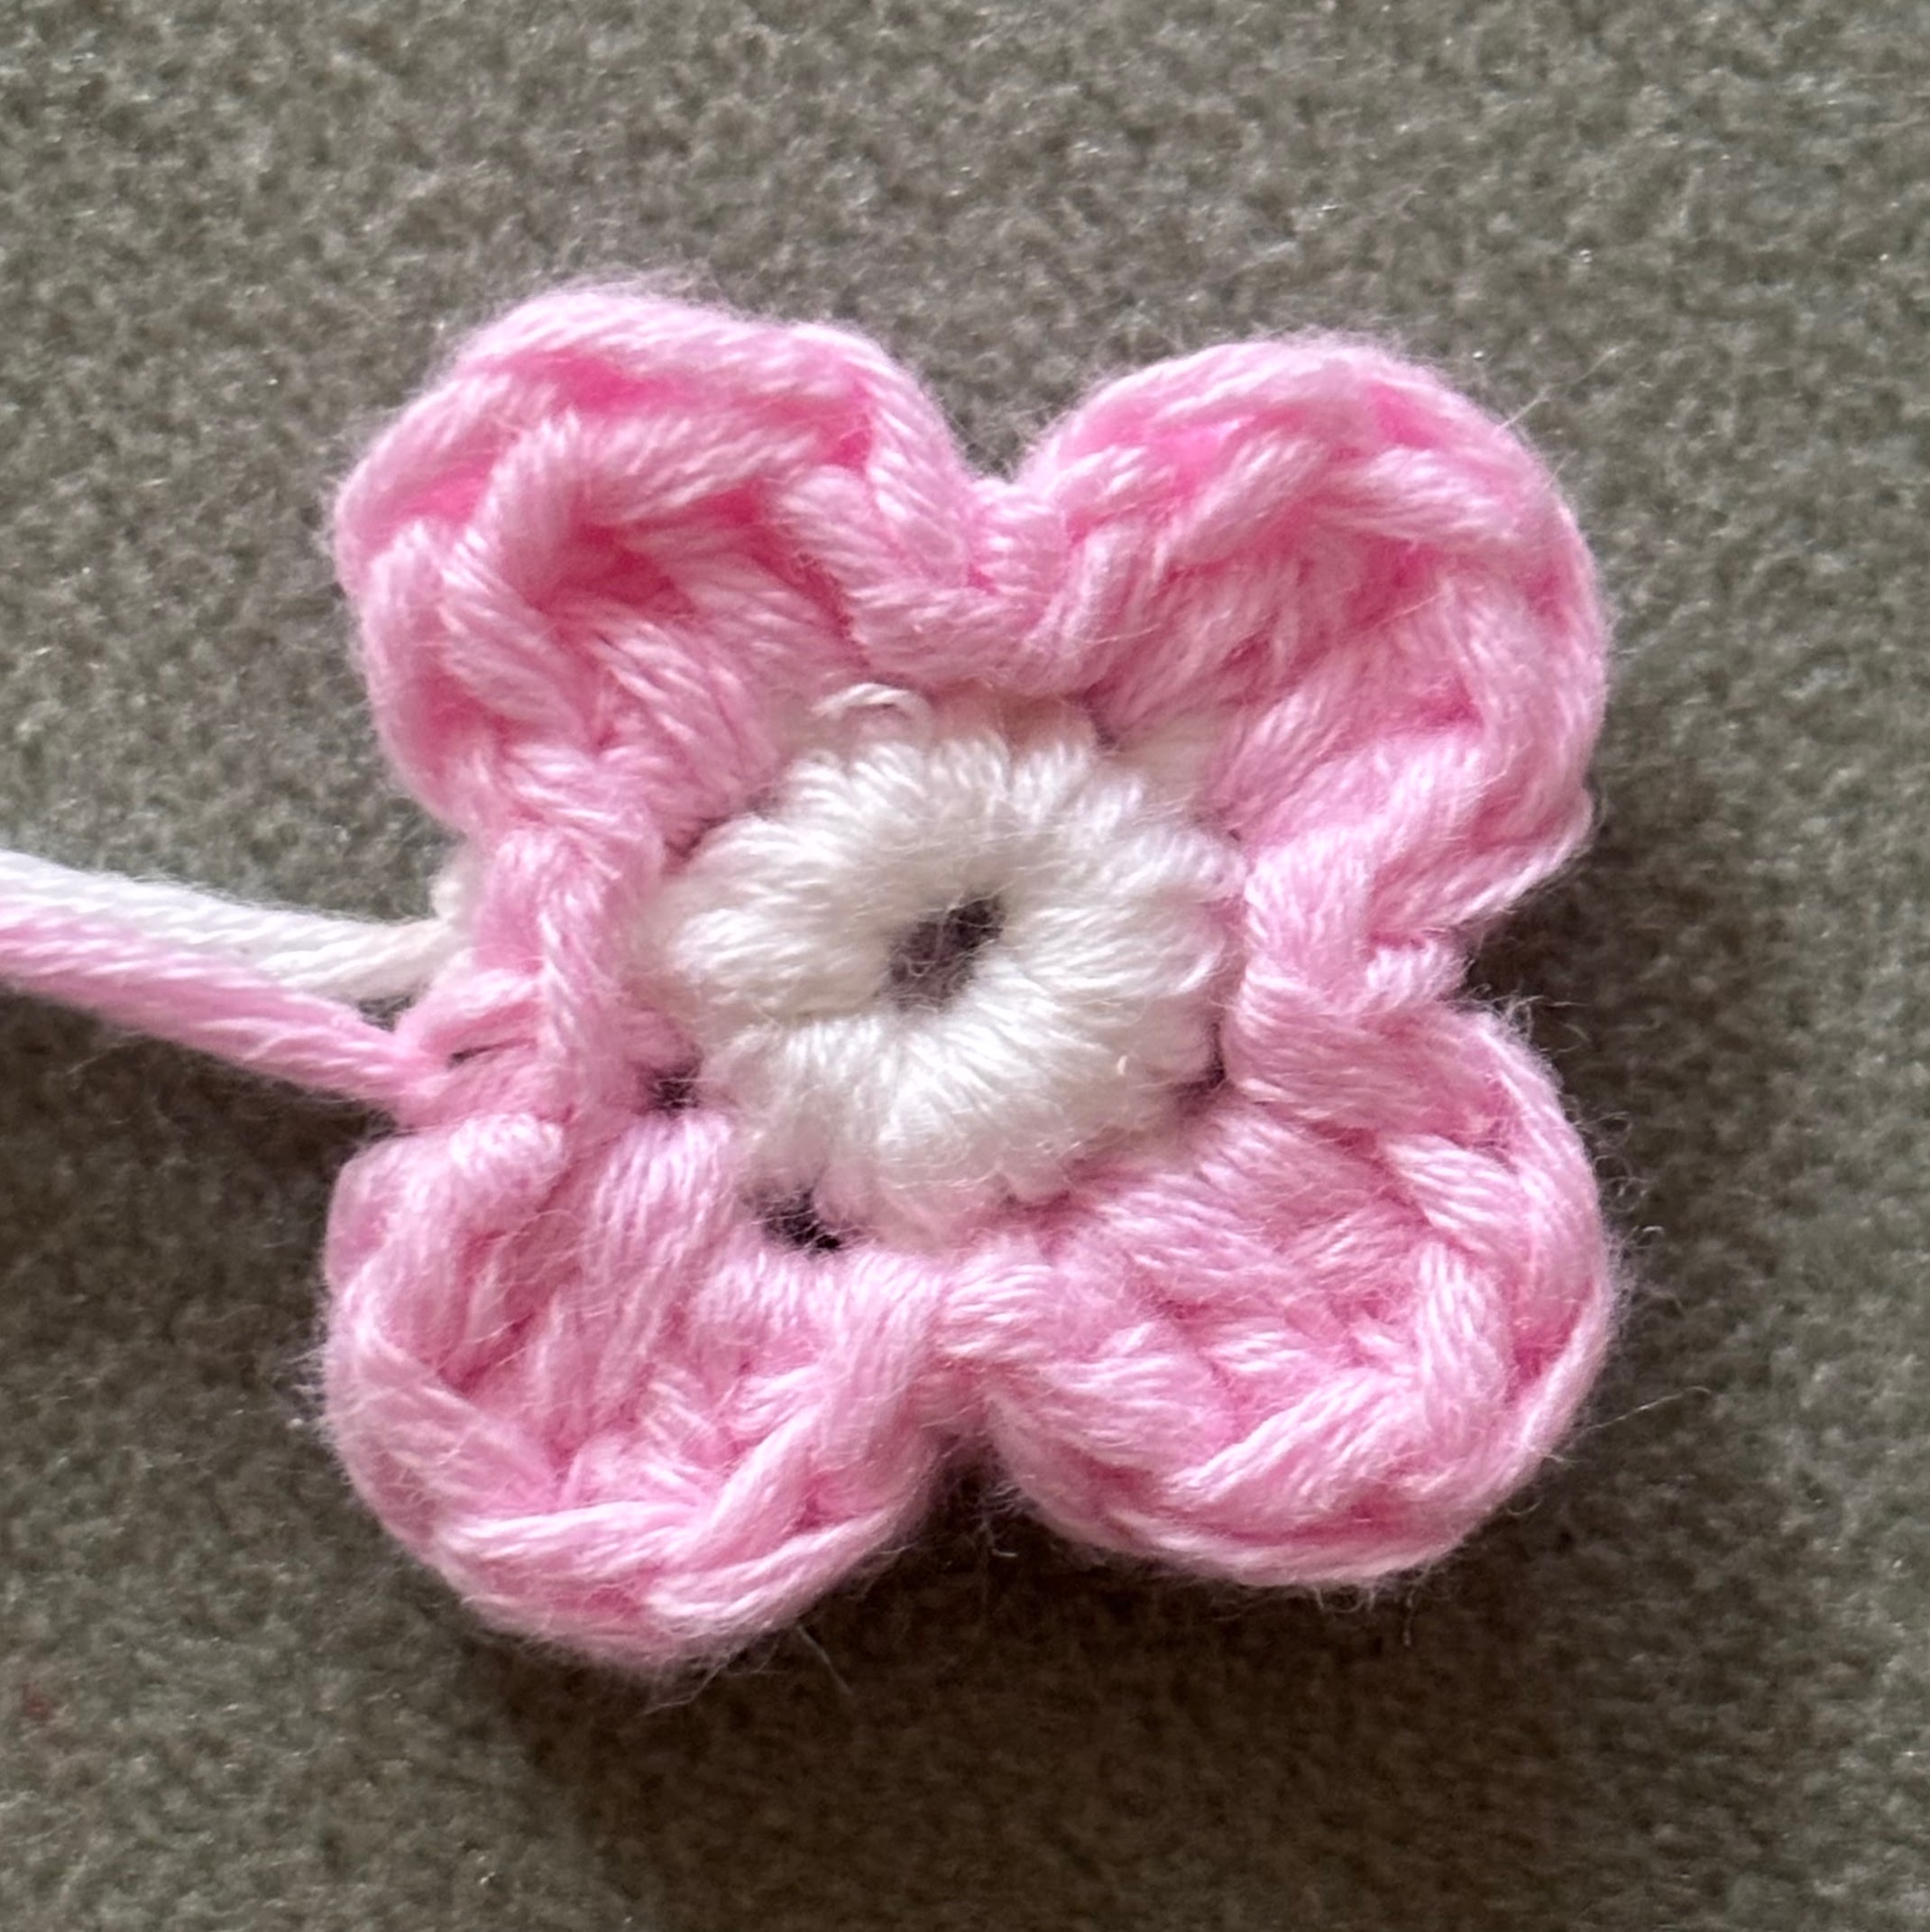
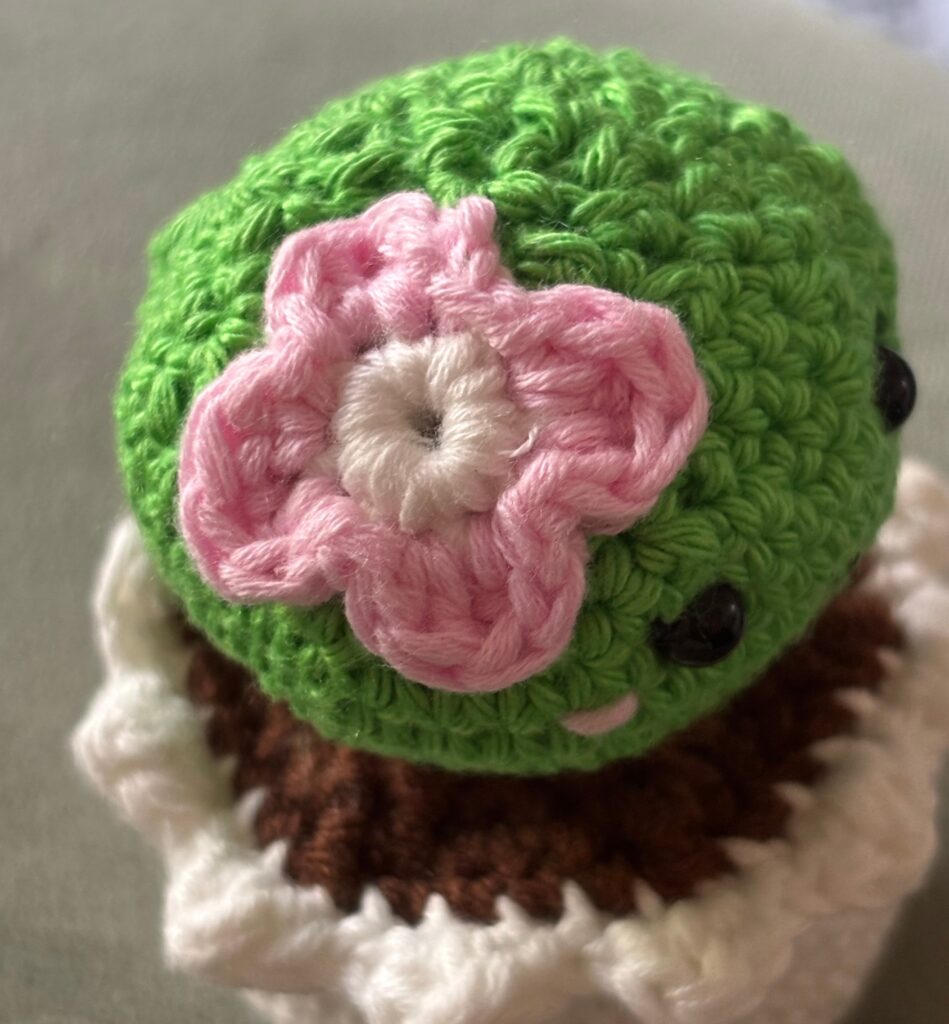
Ch 1, cut and tie. Leave some yarn and sew onto the top left side of your cactus.
Baby Cactus
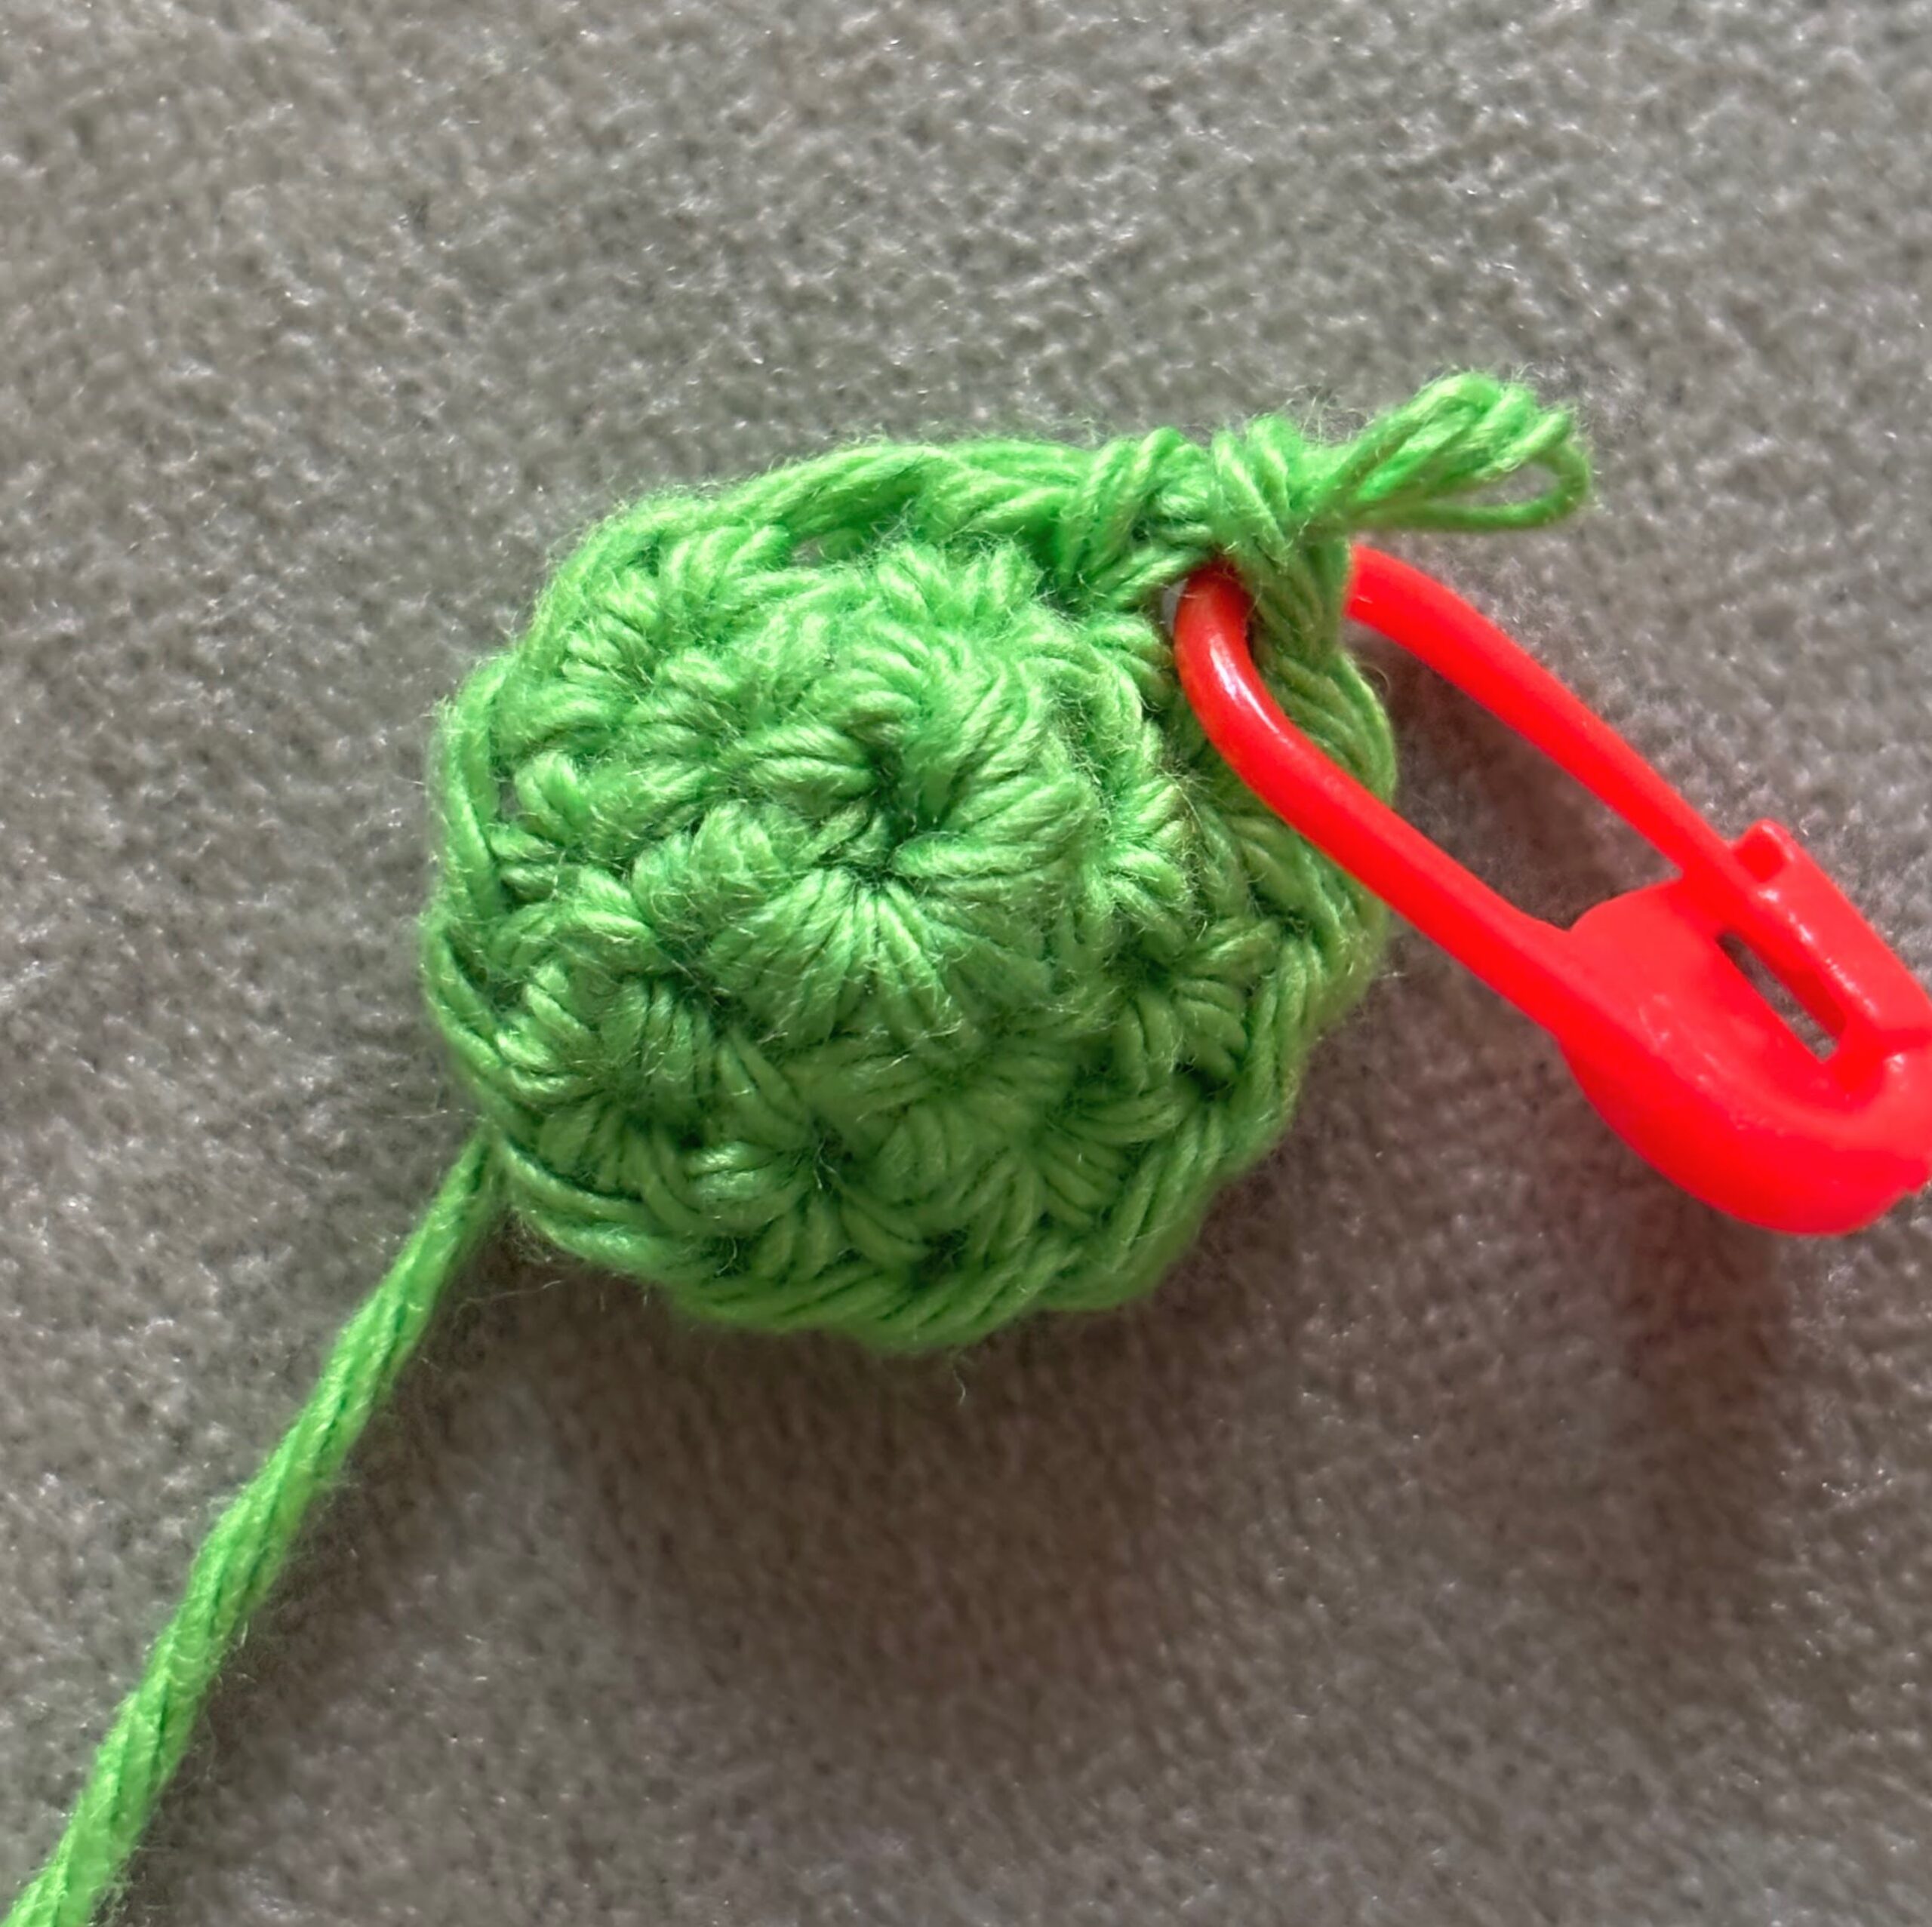
With green yarn, ch 4, sl st into first ch to make a circle.
Round 1. Sc 4 into circle (4)
Round 2. Inc 4 (8)
Round 3. (Sc, inc) x4 (12)
Round 4. – Round 6. (3 Rounds) Sc 12 (12)
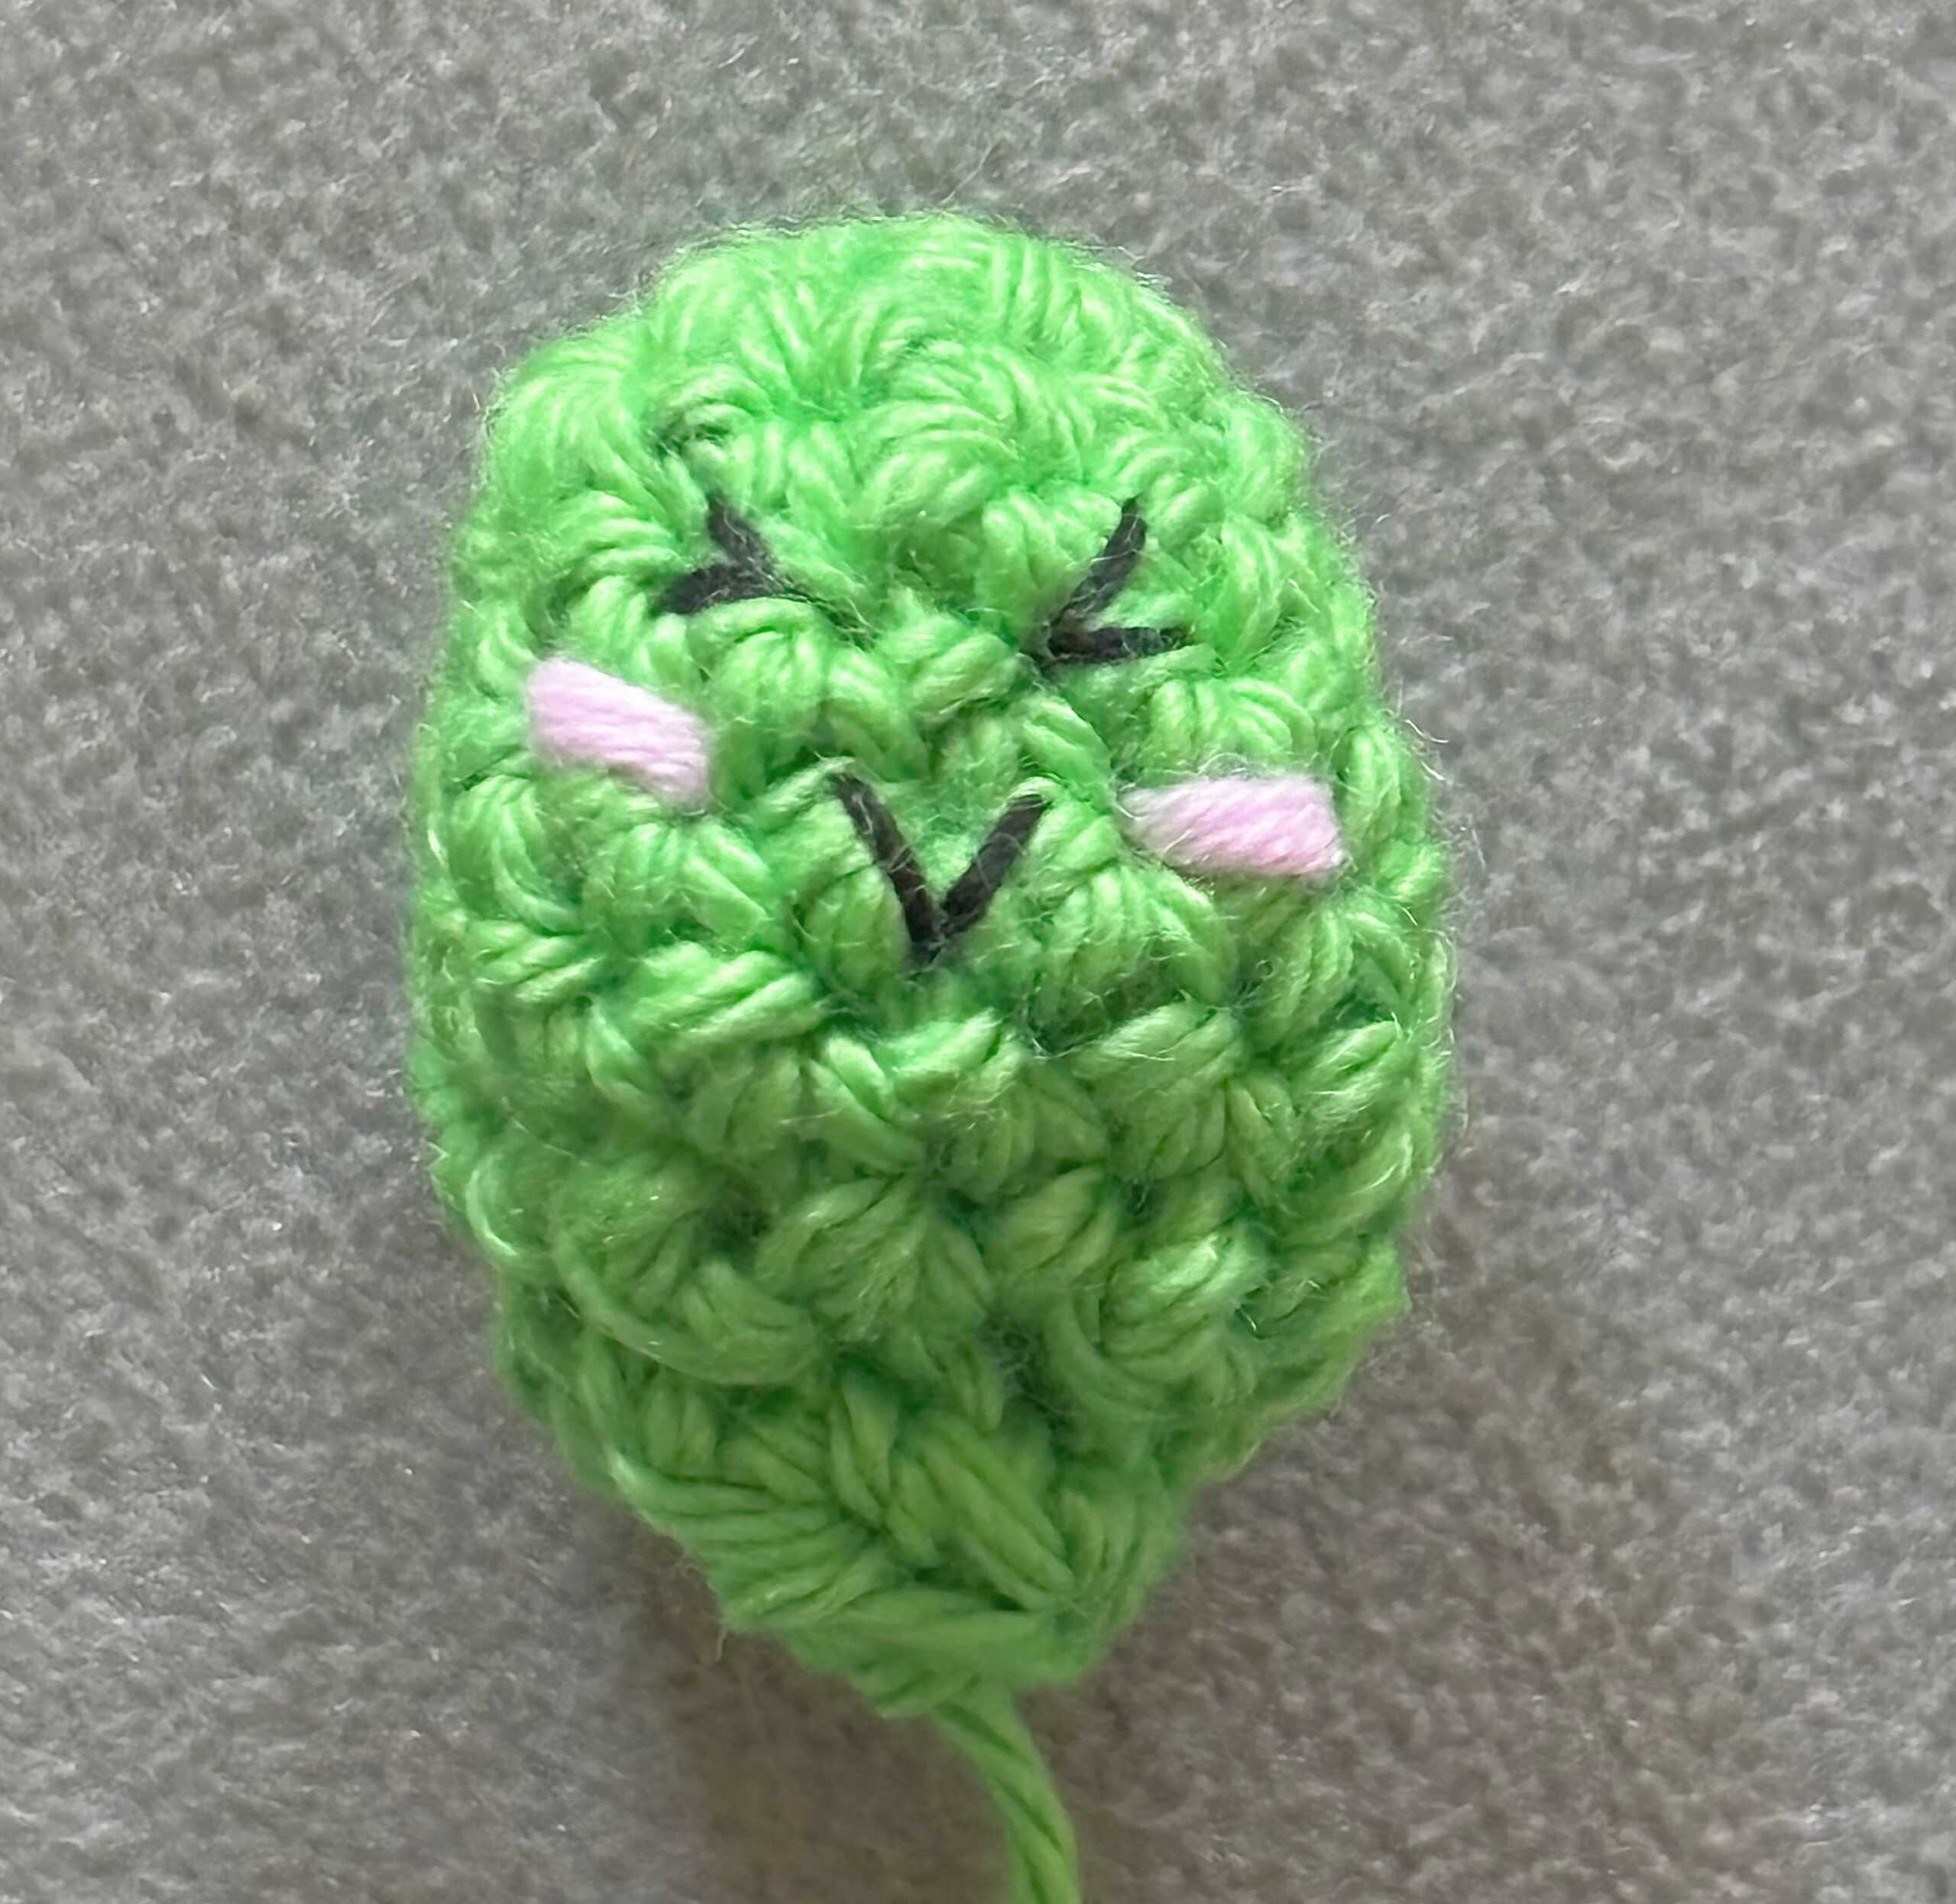
With black thread and a sewing needle, add the facial features but make sure round 1 is at the top of the head so your projects should be upside down for this part.
Sew a ‘>’ on the left side and a ‘<‘ on the right side for the eyes.
Sew a small ‘V’ in the middle for the mouth.
Take your pink yarn and tapestry needle and make a horizontal line under each eye for the blush.

Round 7. (Sc, dec) x4 (8)
Round 8. Dec 4 (4)
Sl st & ch 1. Cut and leave some yarn for sewing.
With a tapestry needle, sew the baby cactus onto the pot next to mother cactus on the right side.

Your little cactus family is finished! I hope you enjoyed this free pattern and any comments or feedback are welcome. If you need any help or have any questions, feel free to reach out, i’m here to help!
Please remember to tag @crochetatmidnight13 with any pictures you take ♡
Related Posts